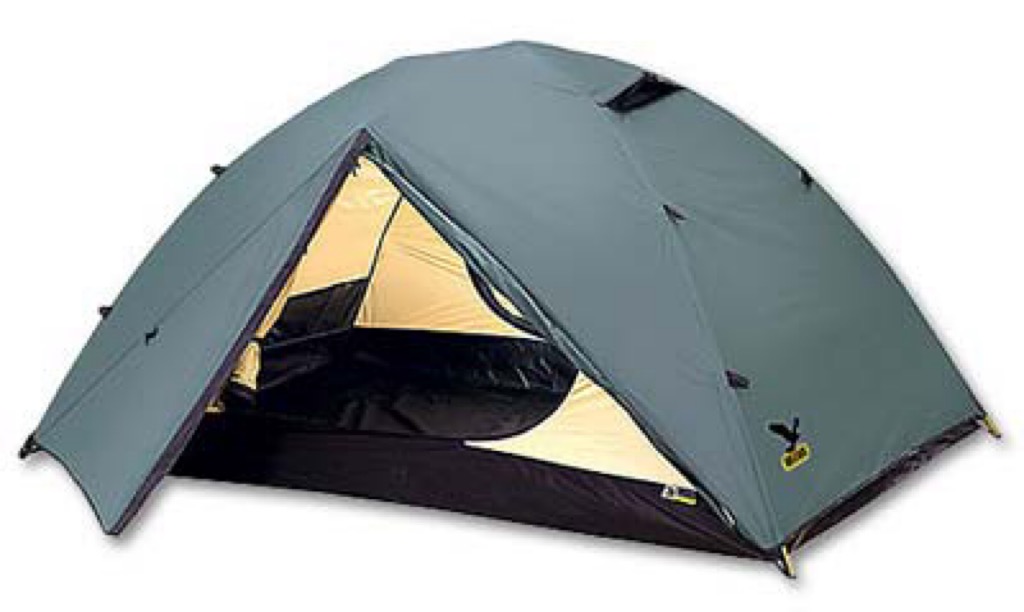
New life for a 38 year old classic
I bought the Salewa Sierra Leone tent when I was a uni student around 38 years ago. Back then it was the top expedition tent used by climbers of the Himalayas and cost around a months income. I got some discount through a friend, who was a semi professional climber. It came either in green or in violet and an option was to have the inner tent made from mosquito net, which has the advantage to let the air flow through more freely. Since I mostly travelled countries with mediterenian climate back then, I thought that was the right choice. Which was confirmed when I moved to the tropics. On one trip in the early 1990s we even used the inner tent only set-up on top of a hotel bed in a mosquito and cockroach infested hotel room in the Philippines while traveling by motorbike in very off the beaten track areas.
The fabric, poles, and fittings of the tent are still in good condition, but recently it had started leaking and when inspected it appeared that the whole waterproof coating of the inside is gone. So it is not good for camping anymore where it could rain. I don’t want to buy a new tent because the Sierra Leone is great, and I am trying to minimize my own resource use and promote a circular economy. So the plan was to fix the tent somehow.
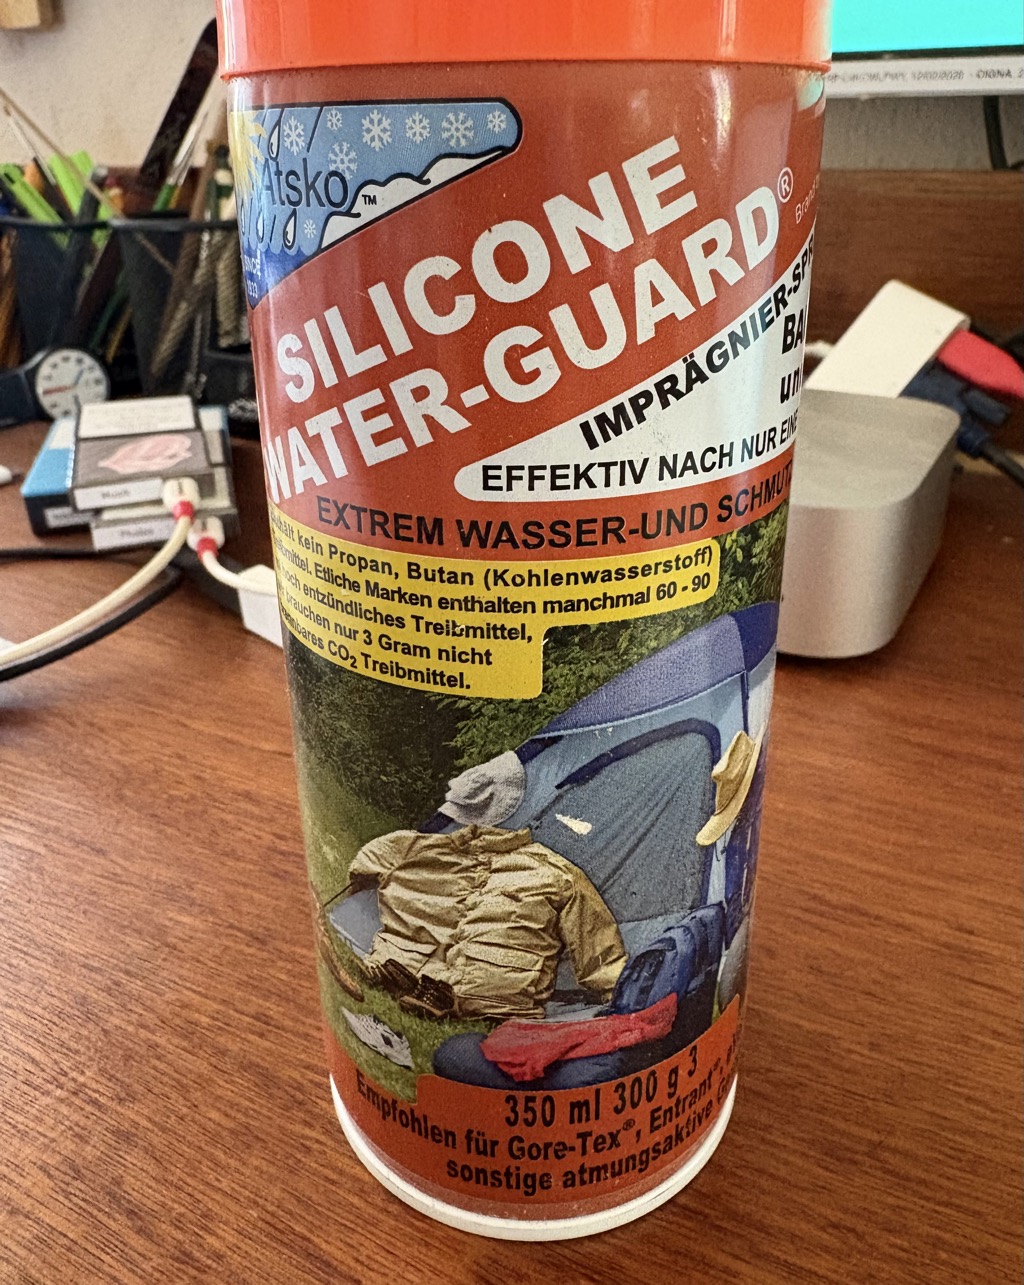
I have tried two different impregnation sprays for raingear from outdoor shops (one example is in the photo in the left) , with no lasting effects. Within an hour the rain got through again. Even though the product has a tent on the label indicating that it can be used for tents.
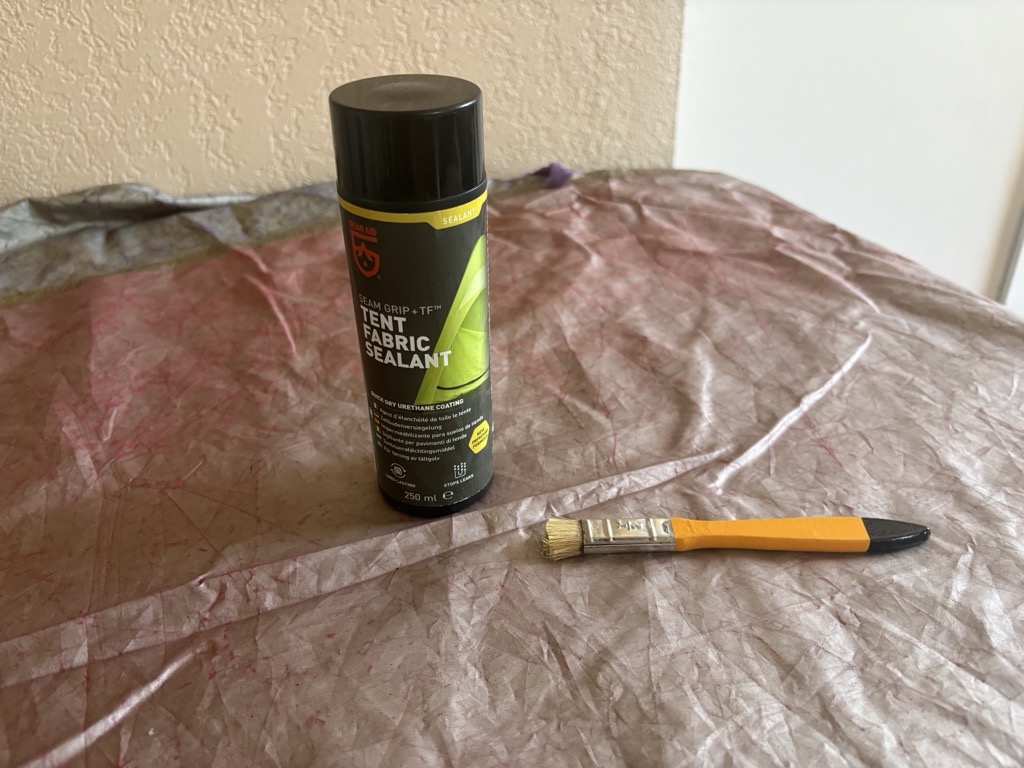
During my last home leave I found a potential solution in Germany. Seam Grip TF Tent Fabric Sealant (right).

It came with the Balikbayan boxes, which took 4 months from Germany to the Philippines. So now is the time to put it to a test.
So far I was not really supporting a circular economy when I use a whole spray can full of chemicals. The companies could at least be more honest in their advertising to avoid such waste.
Waterproofing the tent fabric
It is quite simple, all you need is your tent, the sealant and a brush. I used a paint brush with shortened hairs frist and a soft toothbrush later. I did not want to use a bigger brush because due the shape of the tent I had to do it in many steps with always letting the treated part dry in between. A bigger brush would have wasted a lot of sealant every time I cleaned the brush. I was a bit skeptical whether the 250 ml bottle would be enough for the whole tent.
Since the sealant is transparent it is a bit difficult to see which areas have been treated already. I therefore used a marker to mark the areas with dots. Also looking at the surface at an angle against a light source shows that the treated areas are a bit more shiny. They feel also slightly stiffer than untreated fabric.
It turned out that the 250ml were not sufficient for the whole tent. A bit was already used in Germany to seal the seams of another tent, otherwise it might have been enough. I therefore purchased another 175ml bottle online in Lazada, so I will have some spare for the tent floor too, which is leaking at a few points.
Testing
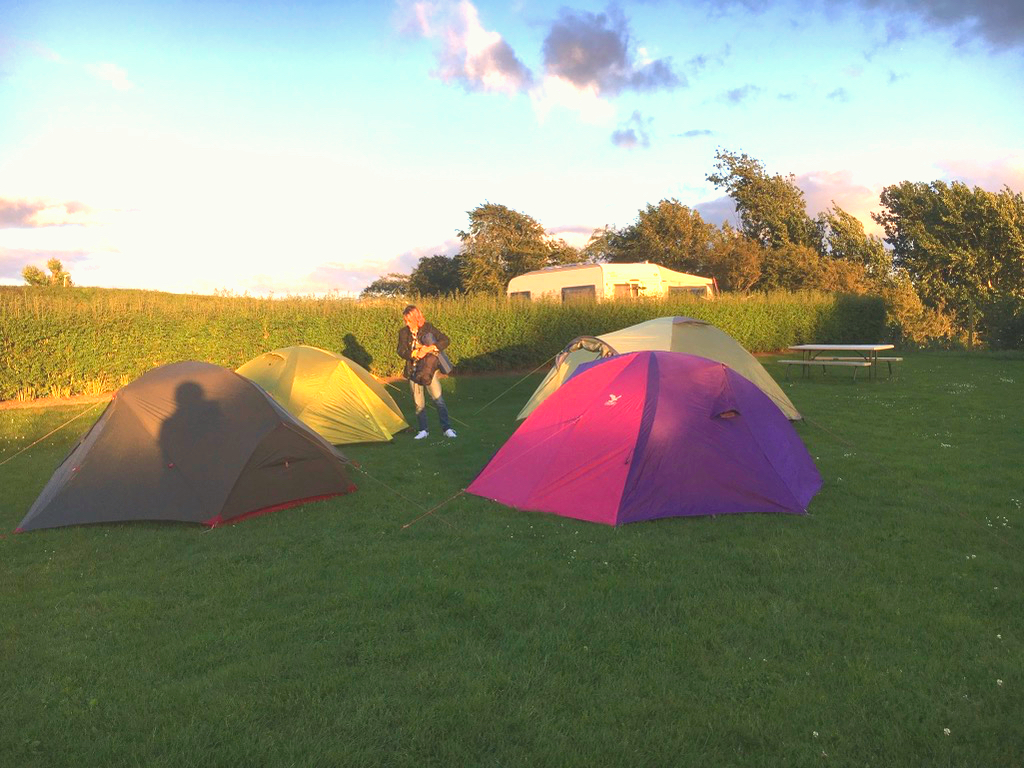
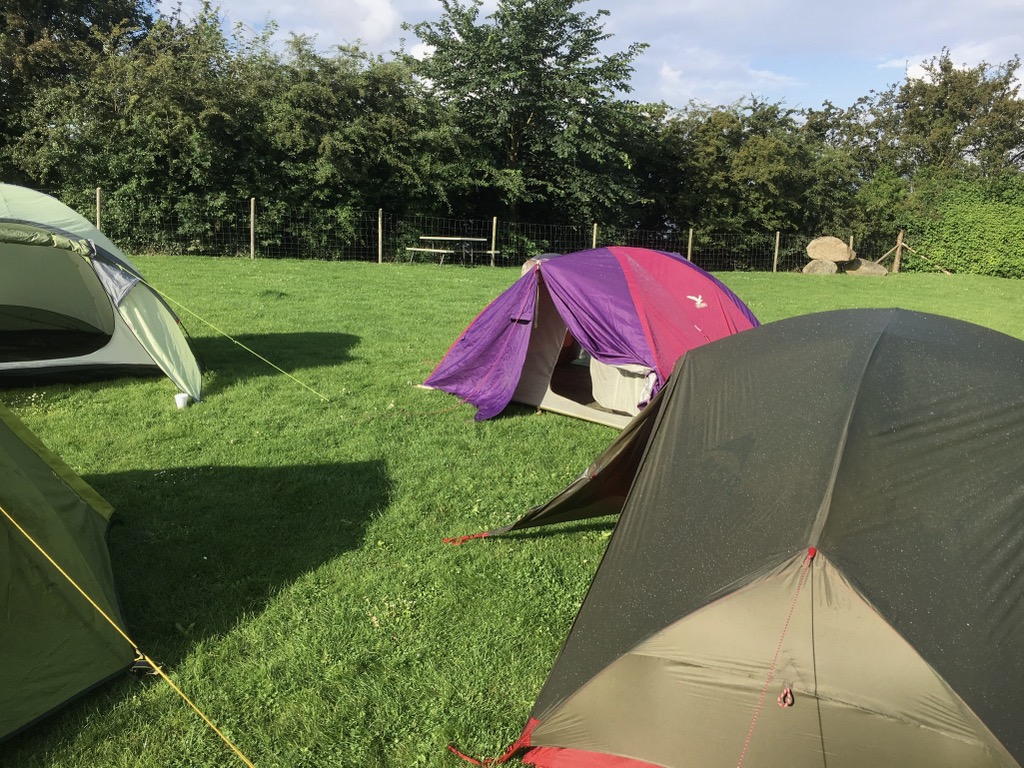
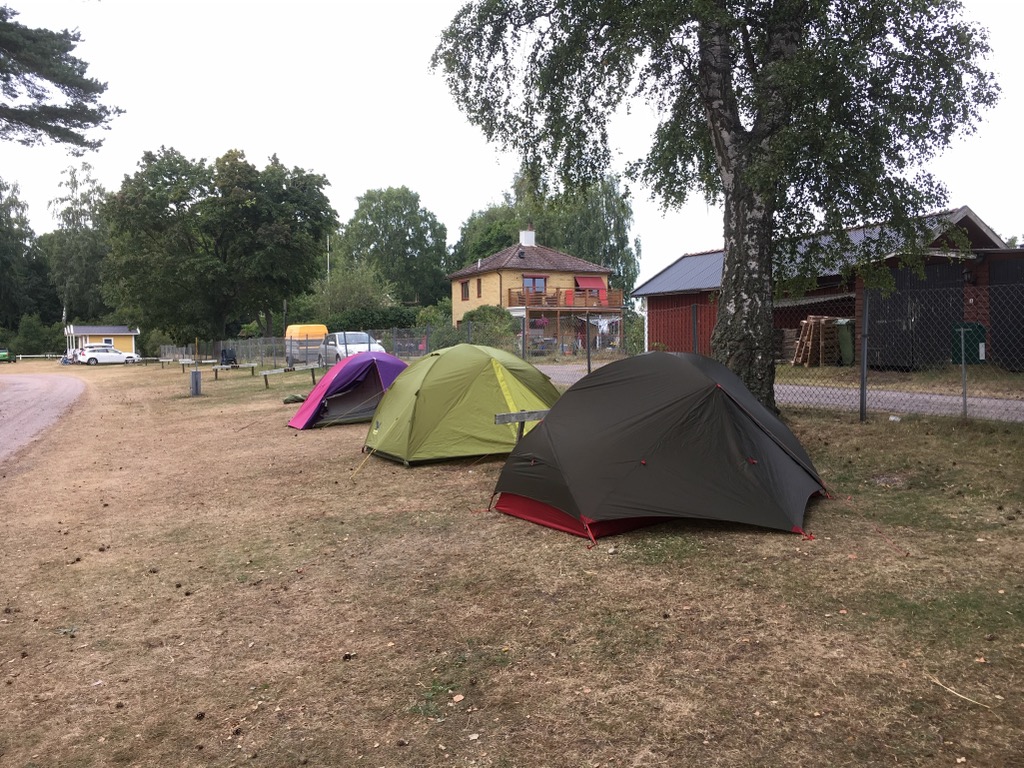
To test the sealant I set up the outer tent only in our driveway and then sprinkled it with water from the garden hose.
Results: ____________
What next?
Also in the 1990s I had designed and made my own bicycle saddle bags out of Cordura. I always wondered how to coat them to get them waterproof. I think I finally found a way. The next project.