
Works in the cabins, saloon and galley..
Initial Action
Fresh Waterpump
This is more psychological. Every time you step down the Companionway you step on a rotten piece of floor, which makes you already feel bad.
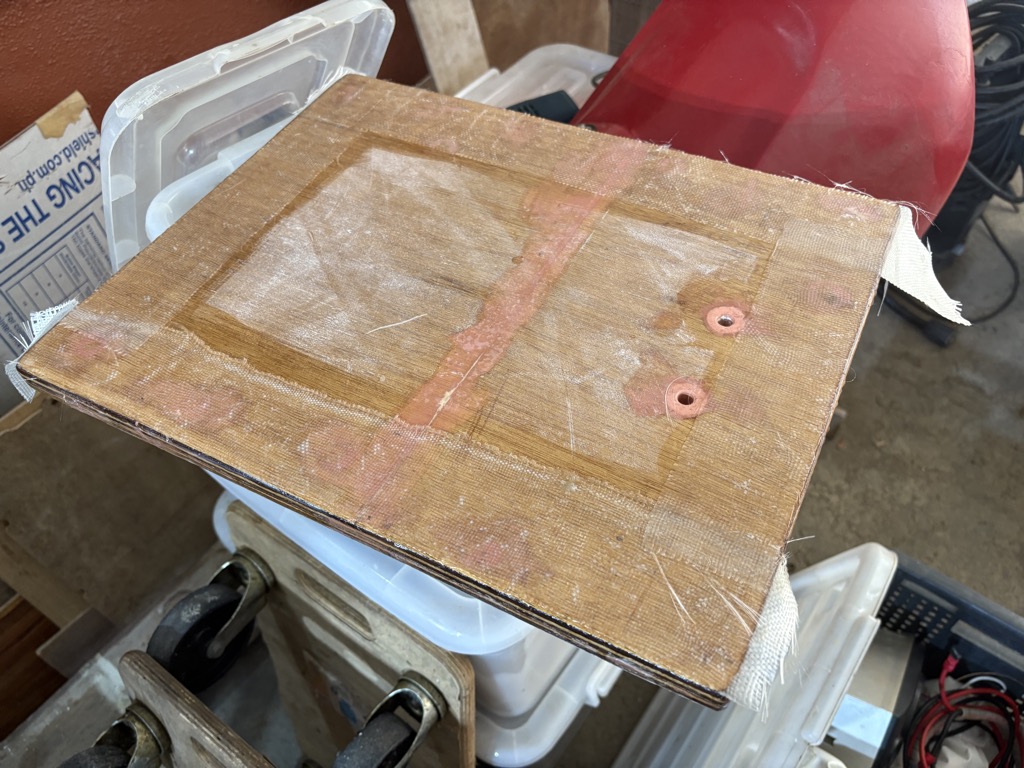
Made a replacement for the broken floor board at the companionway. Probably overshot it but since that is where every body steps all the time: 2x 10mm marine plywood. Epoxy coated. Top surface covered with Rowin mat and 3 layers of epoxy. I am in the process of restoring the copper fitting.
When testing the waterpump, it did not work. Checking the cable – OK, the fuse – corroded, but OK, and the connectors – should work. Then we took the pump out and connected it directly to the battery. It did not run.
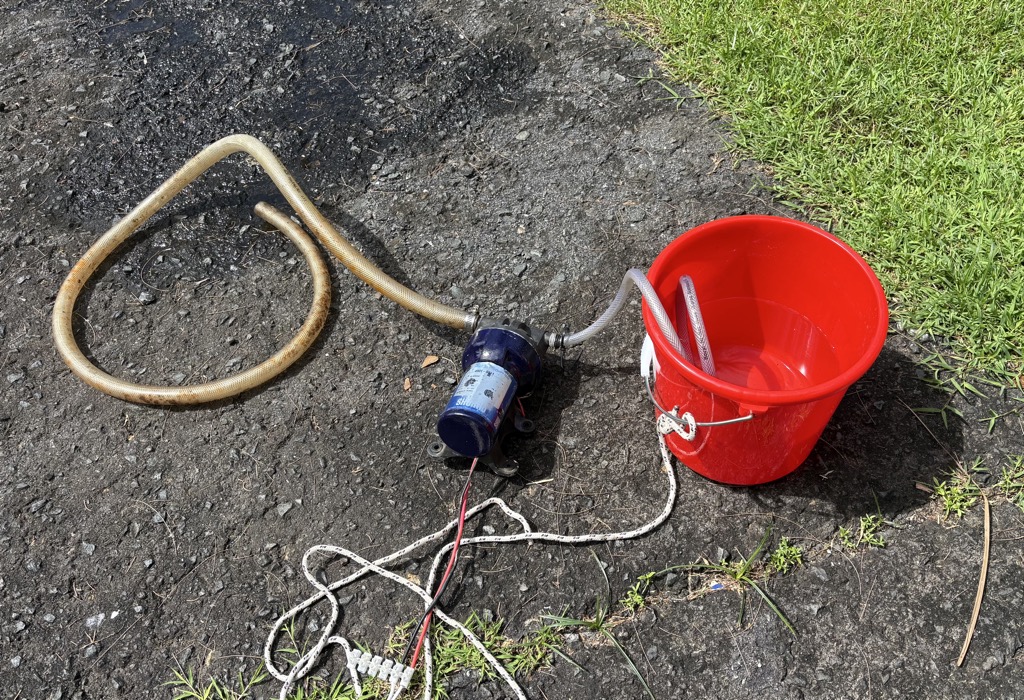
At home I found the issue, basically corroded cables in the fuse holder. The copper cables are all turned black, but should be OK. Tested the pump with a bucket of water.
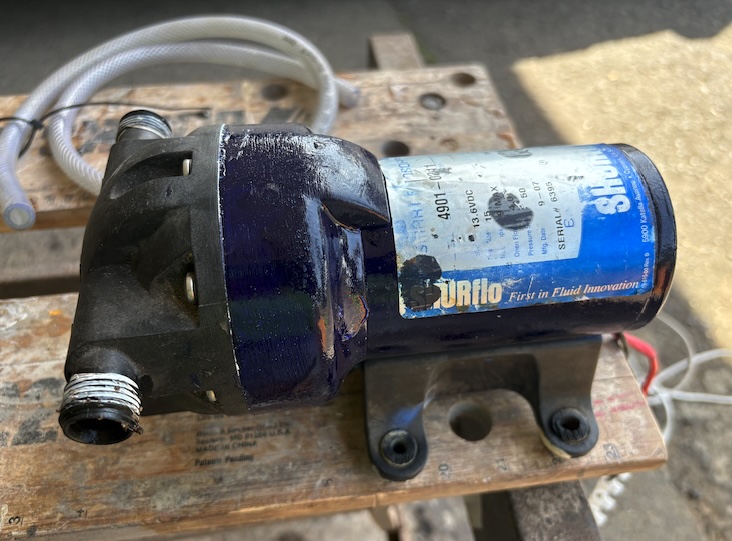
The powder coat just came off in big chunks when I was handling the pump. Underneath a lot of white oxide at the pump casing and rust at the iron house of the motor. I spent an hour clean, prime and then spay painted it.
Sorting out the Starboard Battery Compartment
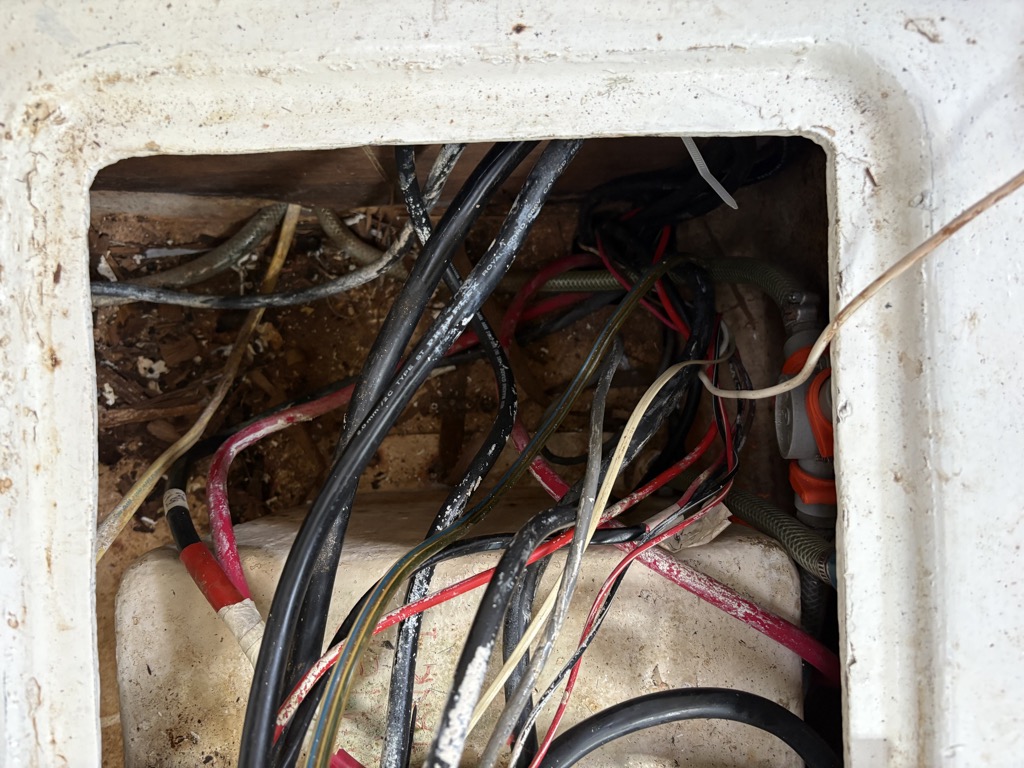
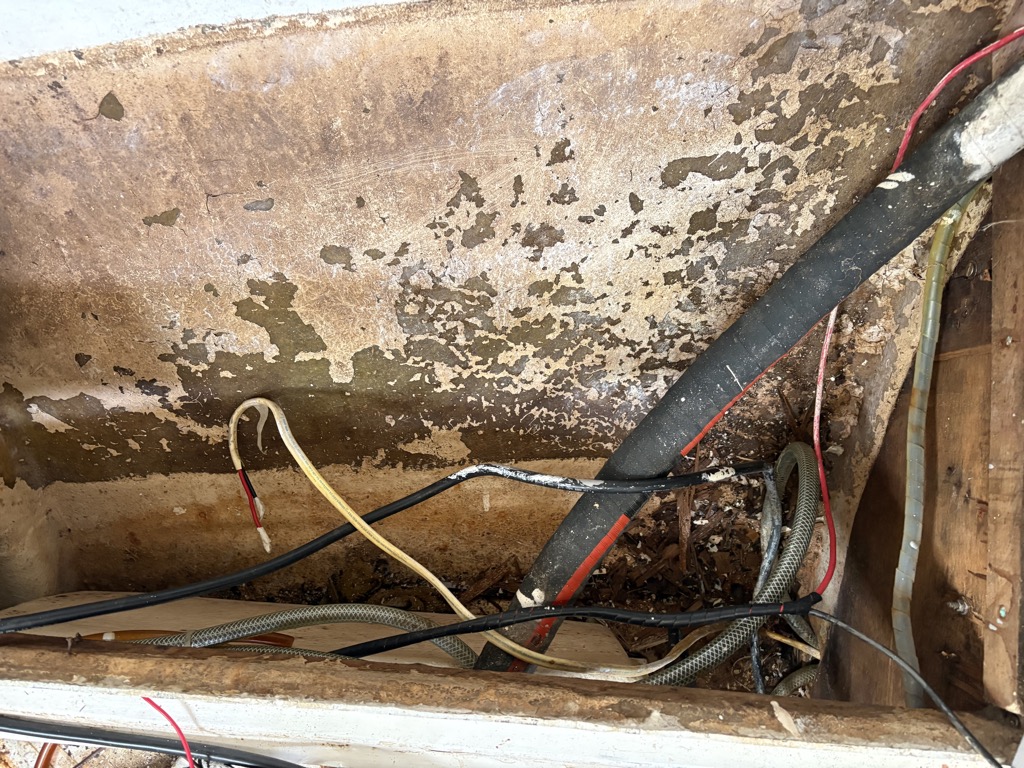
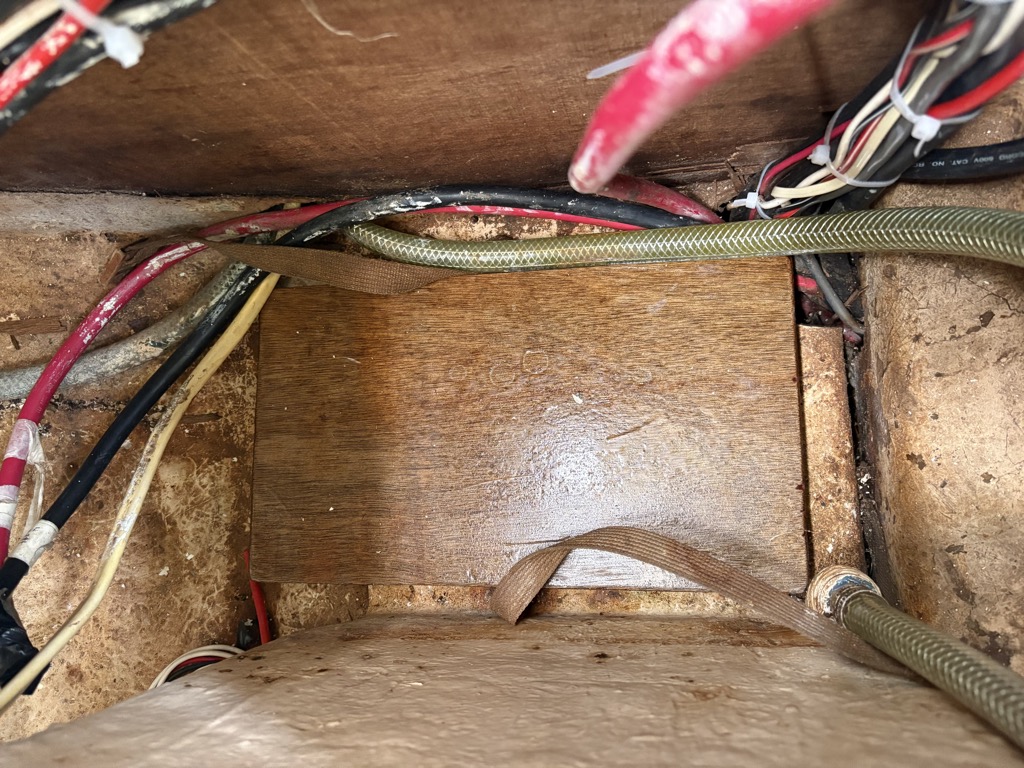
This was a total mess. Cables, water hoses, lots of dirt and rubbish and the battery sitting loosely on top of all. Wet and very dirty. Started cleaning it up and ripped out all not used cables and tried to identify what cable is what. See the page on boat electrics for details on the electrical cleanup.
October 28: Cleaned up further and led the cables along the top of the compartment. Placed the battery on a wooden board with aeration space underneath.
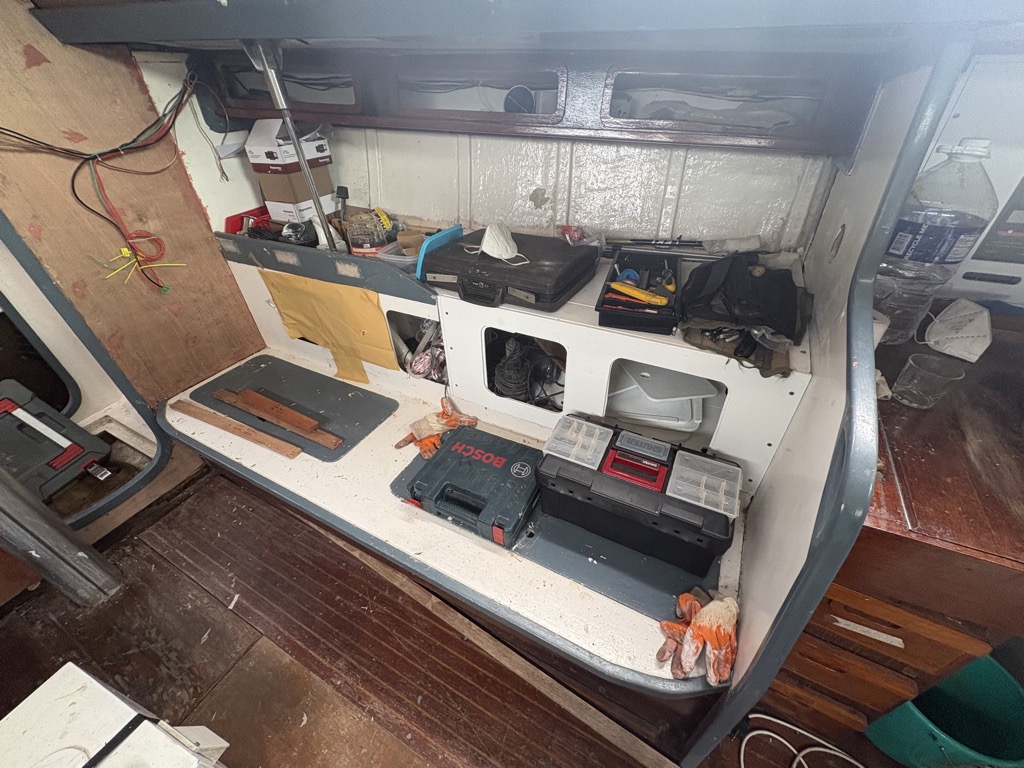
Starboard side bunk bed and storage area
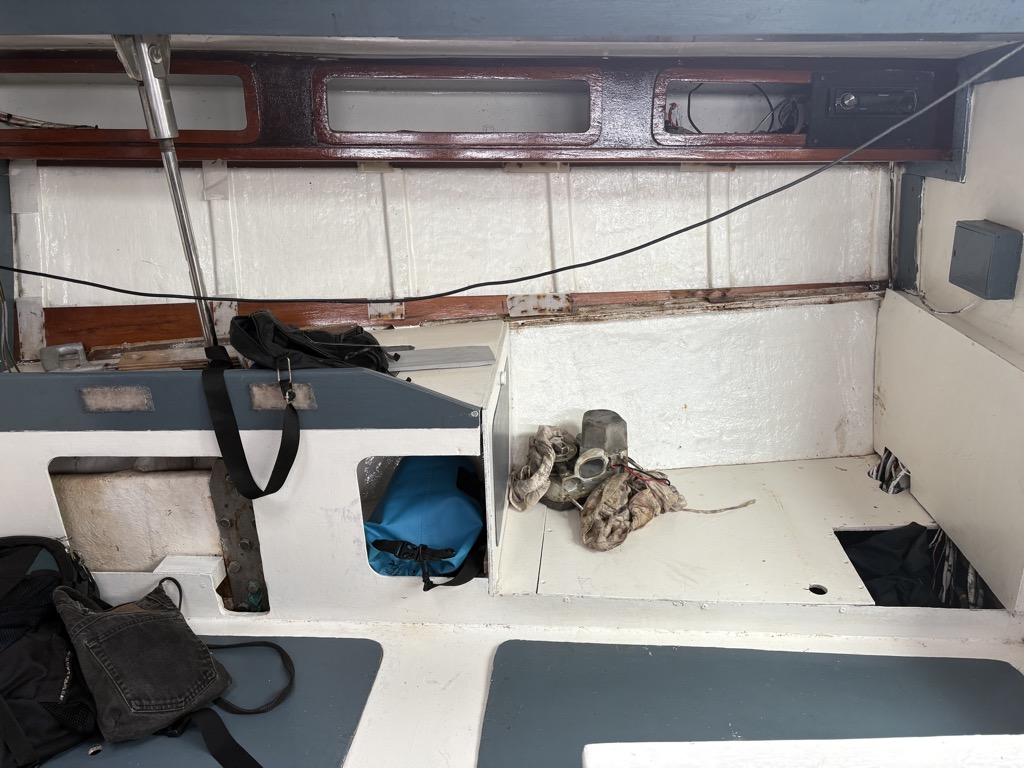
I could not understand the layout of the saloon seats and bunks. The Sparkman & Stevens plan has two bunk beds, one of each side, elevated above the seats. In IRResistable these were not present. Instead there was a big empty space on both sides. Maybe because the previous owner’s priorities was racing, this was used to store the sails? I decided to restore it according to the original configuration, starting with the starboard sided after fixing the electrical components. This I tackled already in Puerto Galera.
Getting rid of Rot
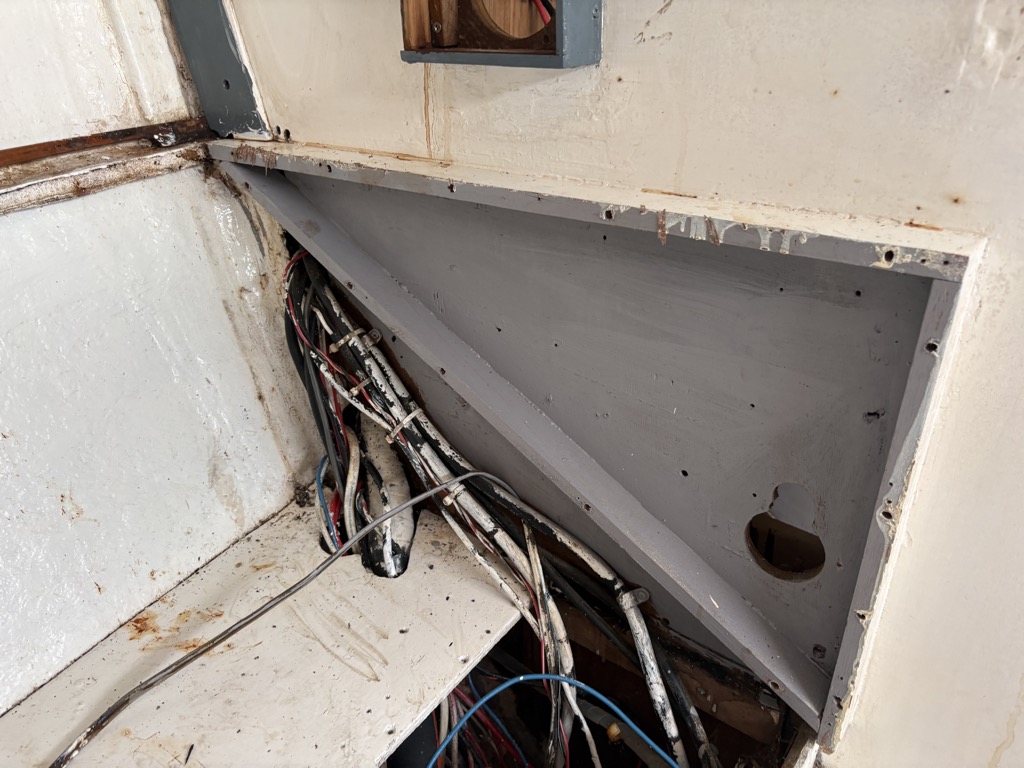
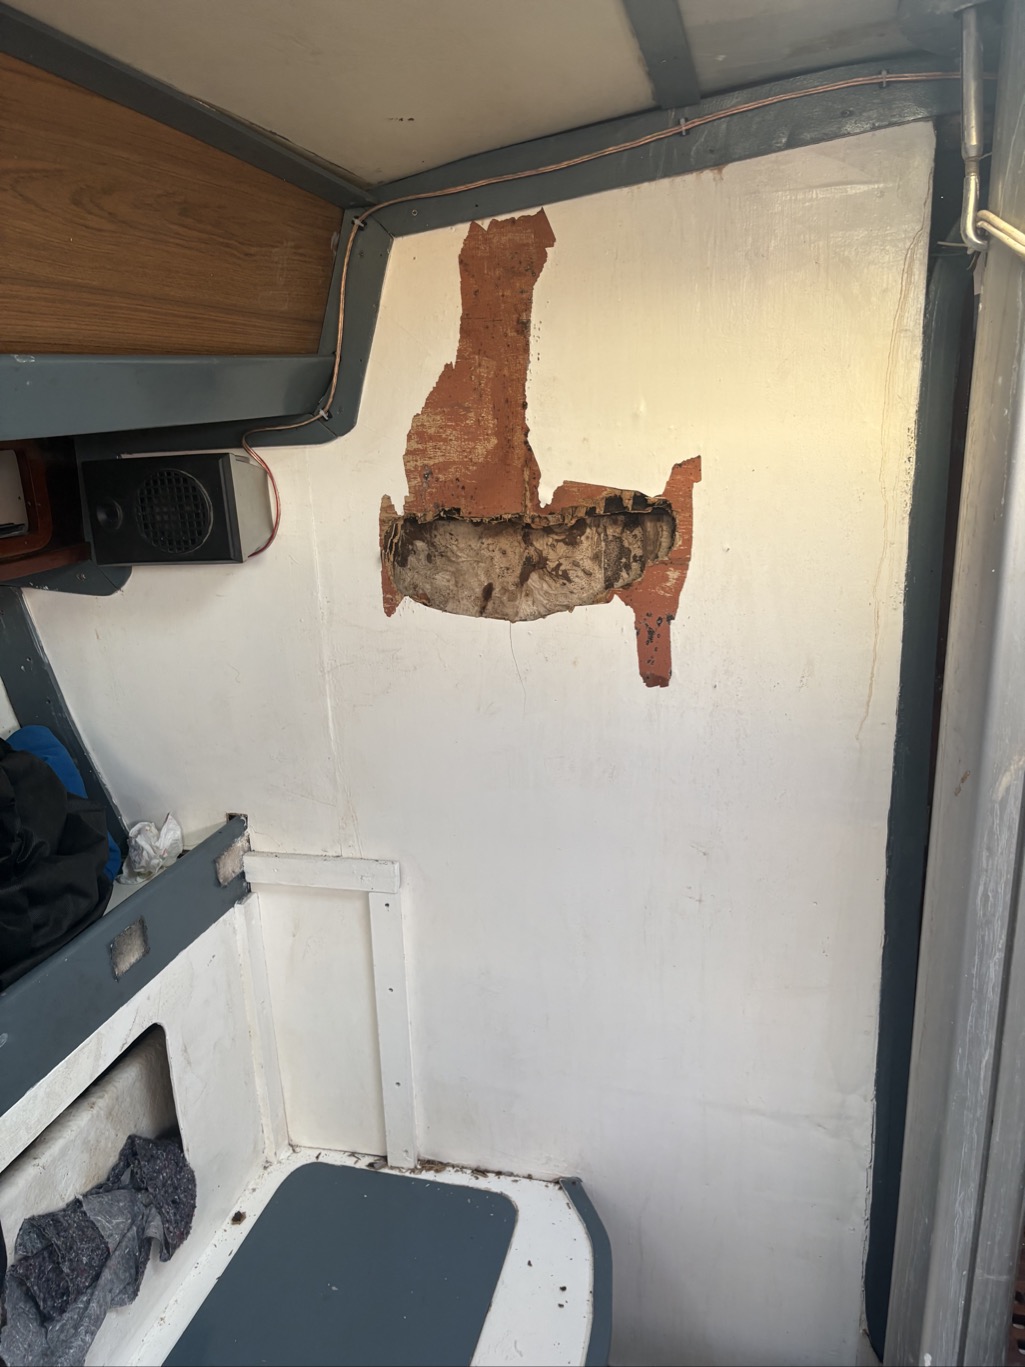
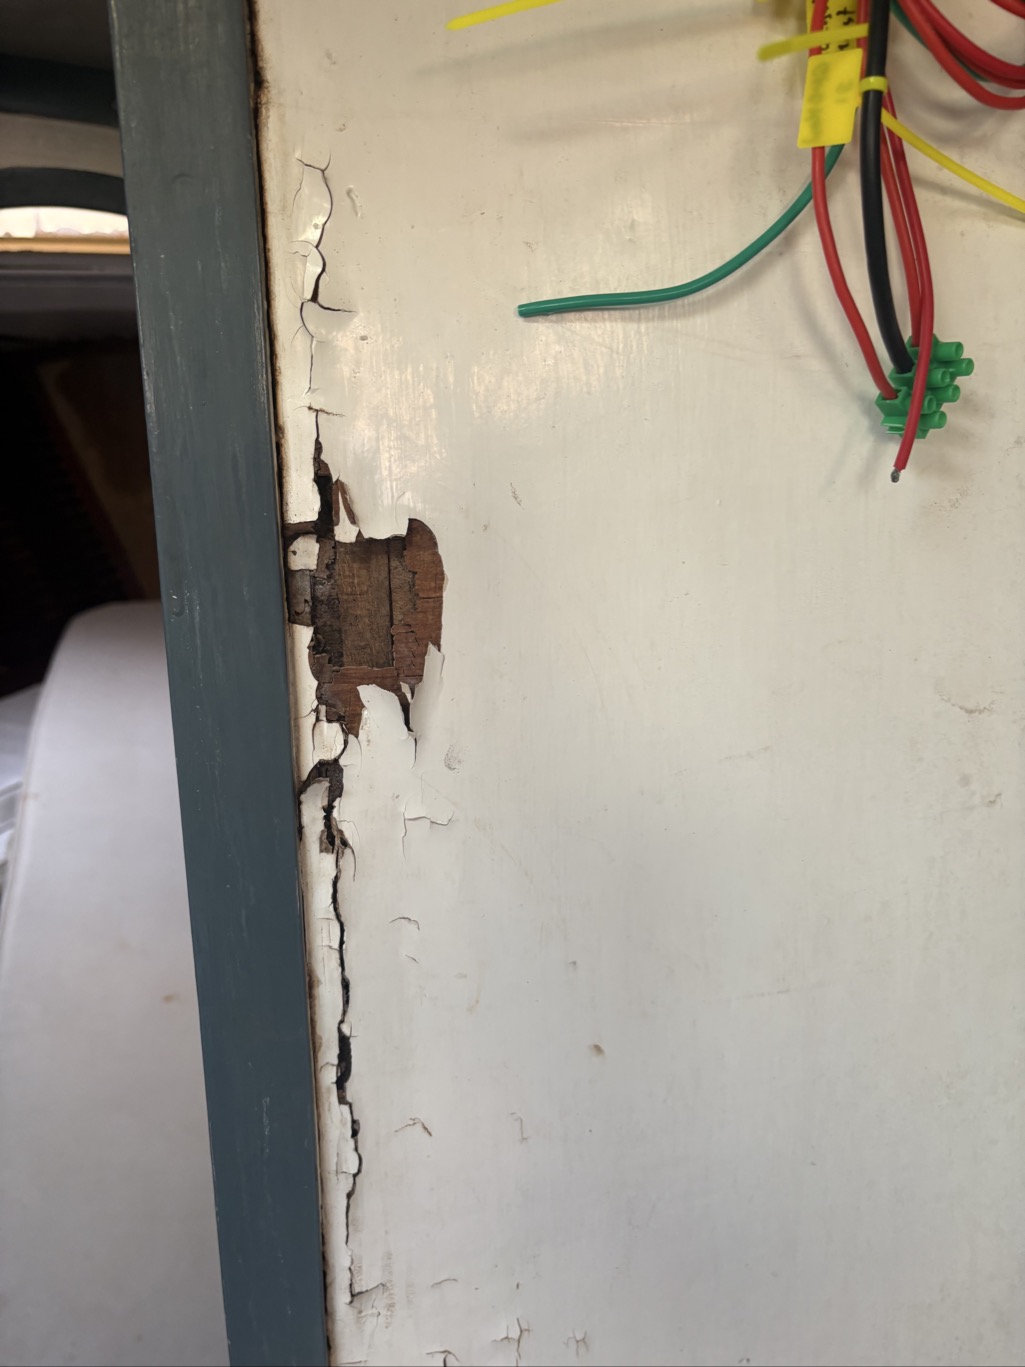
One thing that worried me a lot was the soft parts of bulkhead in the saloon. At some parts you could poke your finger in from the saloon side. The other side in the head is solid. There was some rumor that the boat was once attacked by termites, and then fixed by a specialist. So my thought was that maybe that bulkhead was affected. Another possible explanation comes from the water leaking in from the mast shoe. Even spray water coming over the bow led to water dripping inside. That’s the next urgent thing to check.
This was only an initial assessment. Rot was everywhere. All bulkheads had sections where wood had been converted to compost by years of water intrusion.
See also the page Fixing Leaks.
Works in the Dry Dock
The original plan was to just do antifouling and service the SailDrive. But already at Pandan Island it became clear that a lot more work was needed while the boat is out of the water. Logistics with the boat in the water were just too difficult. My plan was to address the following issues inside the cabin:
- Clean the second fuel tank, for this the port seat will have to be opened and then later restored.
- Replace all sea cocks and through hull fittings
- Restore the fresh water system
- Water proof the mast shoe
- Restore the head so that the wash basin and the toilet can be used
- Restore the Saloon – Head bulkhead, at least structurally, paint jobs can be done later.
- Restore the galley, as much as possible, fine tuning can be made when the boat is in the water
- Tighten the frame for the solar panels
- Clear all the drainages
- Repair the compass light
It appeared that that was by far not sufficient since new issues became clear, or developed. So in addition the following needs to be done:
- Restore shore power connector
- Restore deck shower
- Repair or change the saloon hatch
- Repair or change the aft cabin hatches / cockpit windows
- Renovate the navigation instrument panels in the cockpit / saloon interface
- Repair the ceiling, that had collapsed when checking for leaks at the mast shoe
- Repair the rotten floor boards / support structure
The haulout finally happened after we got the boat registered (an odyseey by itself) and insured for the permission to enter Subic Bay, and had sailed her back from Pandan Island after several failed attempts, on April 17, 2026. See Page Haulout.
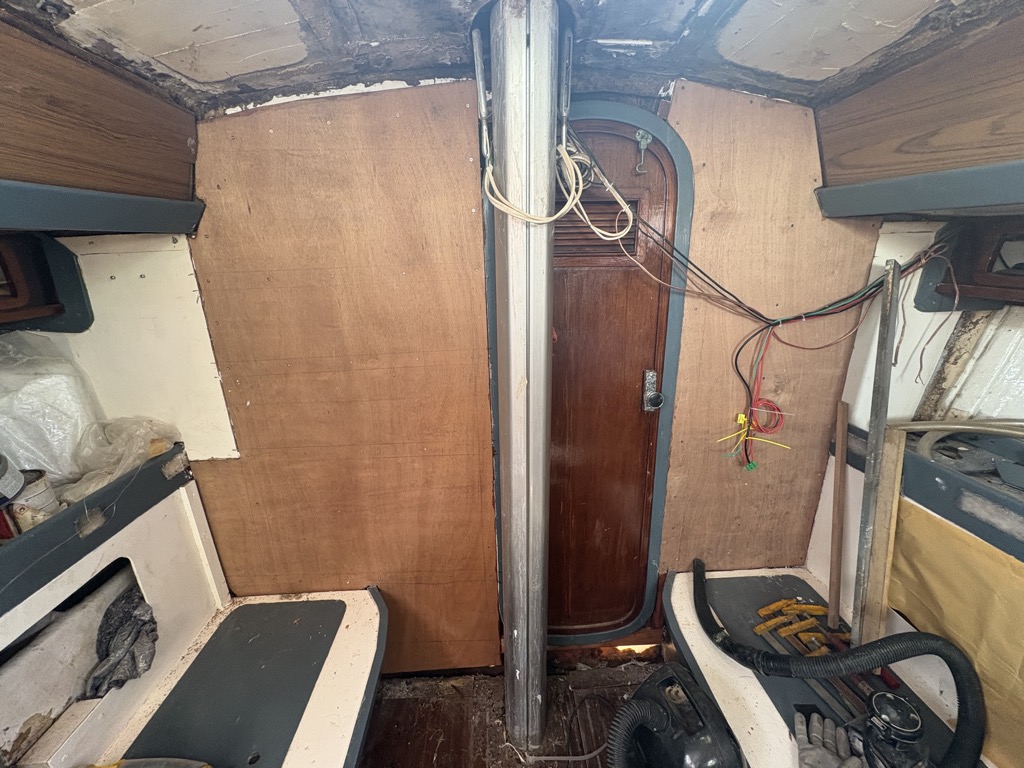
Saloon – Head bulkhead
April 24, 2026
Now since the boat is on land, and waste disposal is easy, I can work on finding out more details. I removed the rotten wood.
The port side consists of a frame made of wooden beams with a fiberglass wall on the head side (either for waterproofness in case people take shower, or added at a later stage), while the starboard side consists of a sandwich of fiberglass in the head and a 12mm plywood on the saloon side. Given the “flimsy” structure of the bulkhead I have my doubts that it is of structural importance. It should be easy to fix.
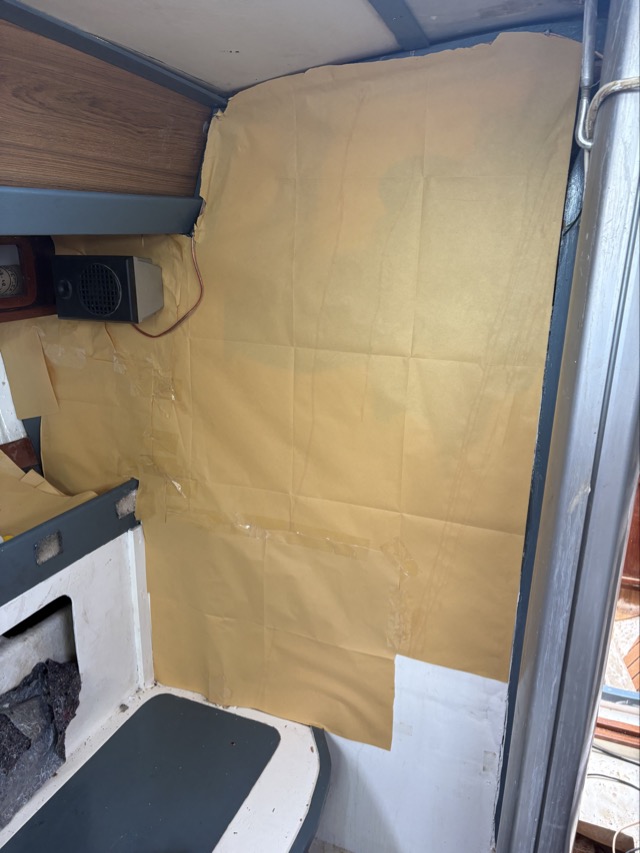
In the dry dock I finally removed the softened wood. The damage appeared to be caused by the water leaking into the mast shoe and then down inside and outside the bulkhead.
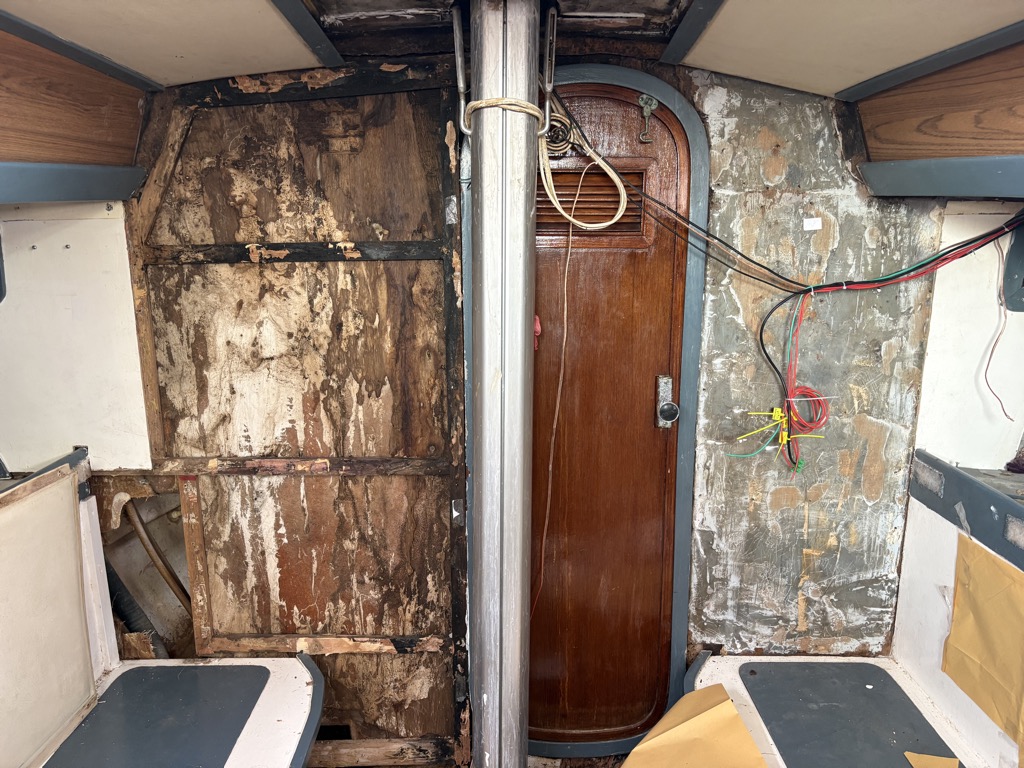
Some of the wood is rotten, it needs to be replaced. I also plan to add a shelf for small items to the port side, so strengthening the framework underneath might be a good idea.
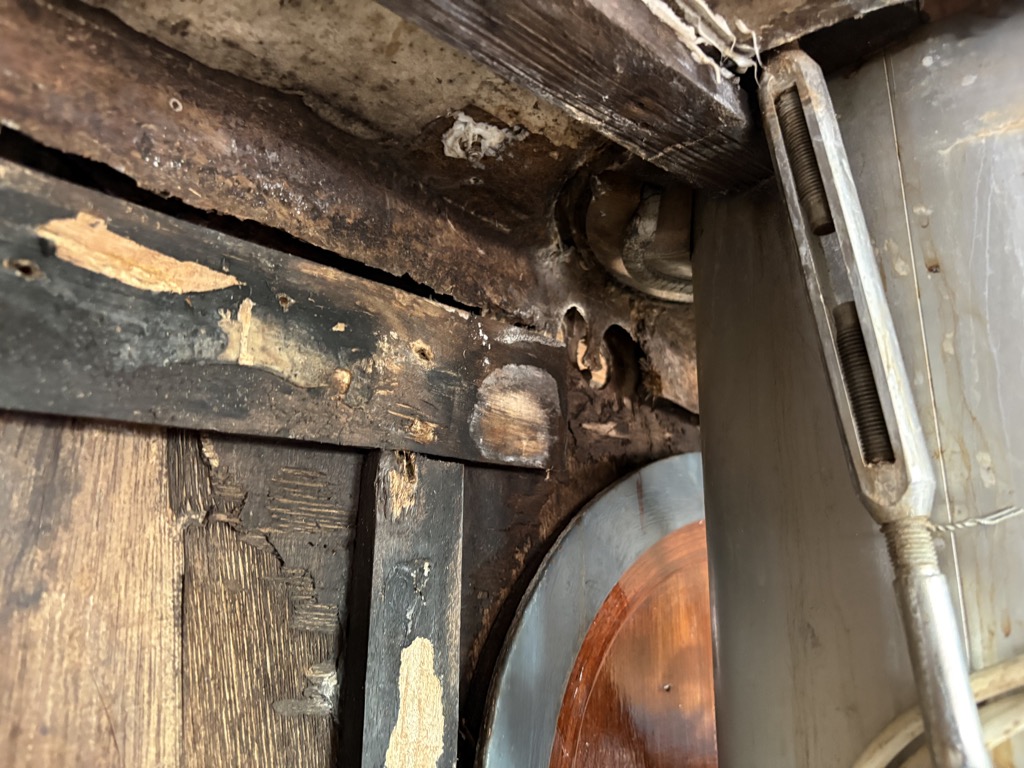
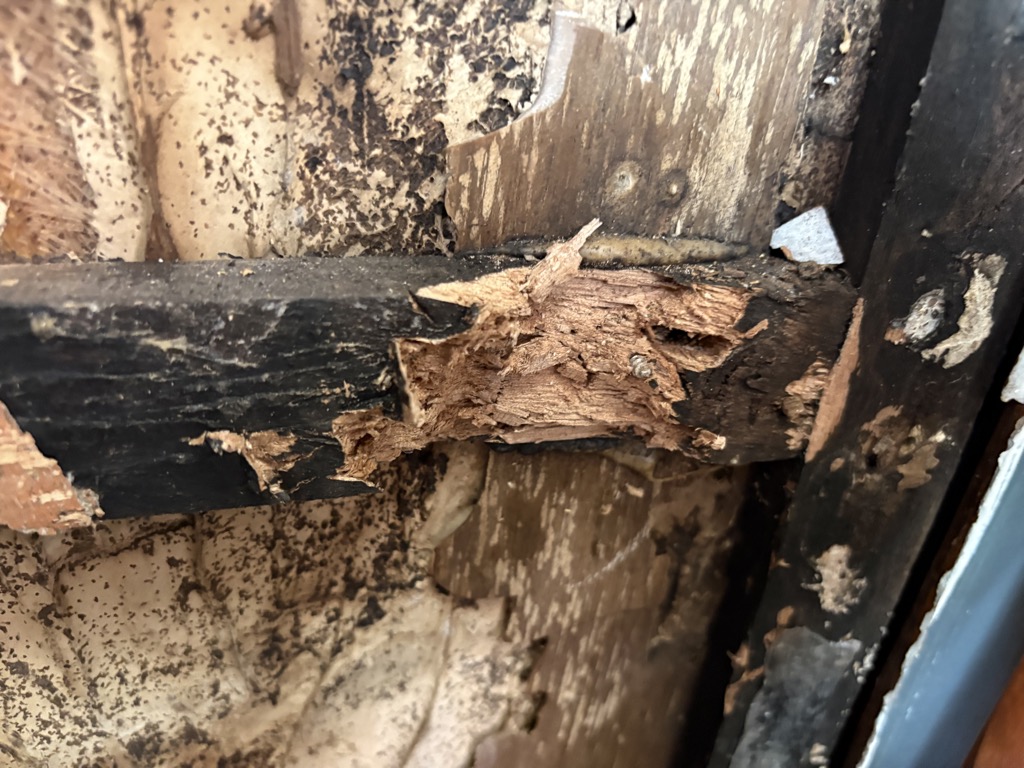
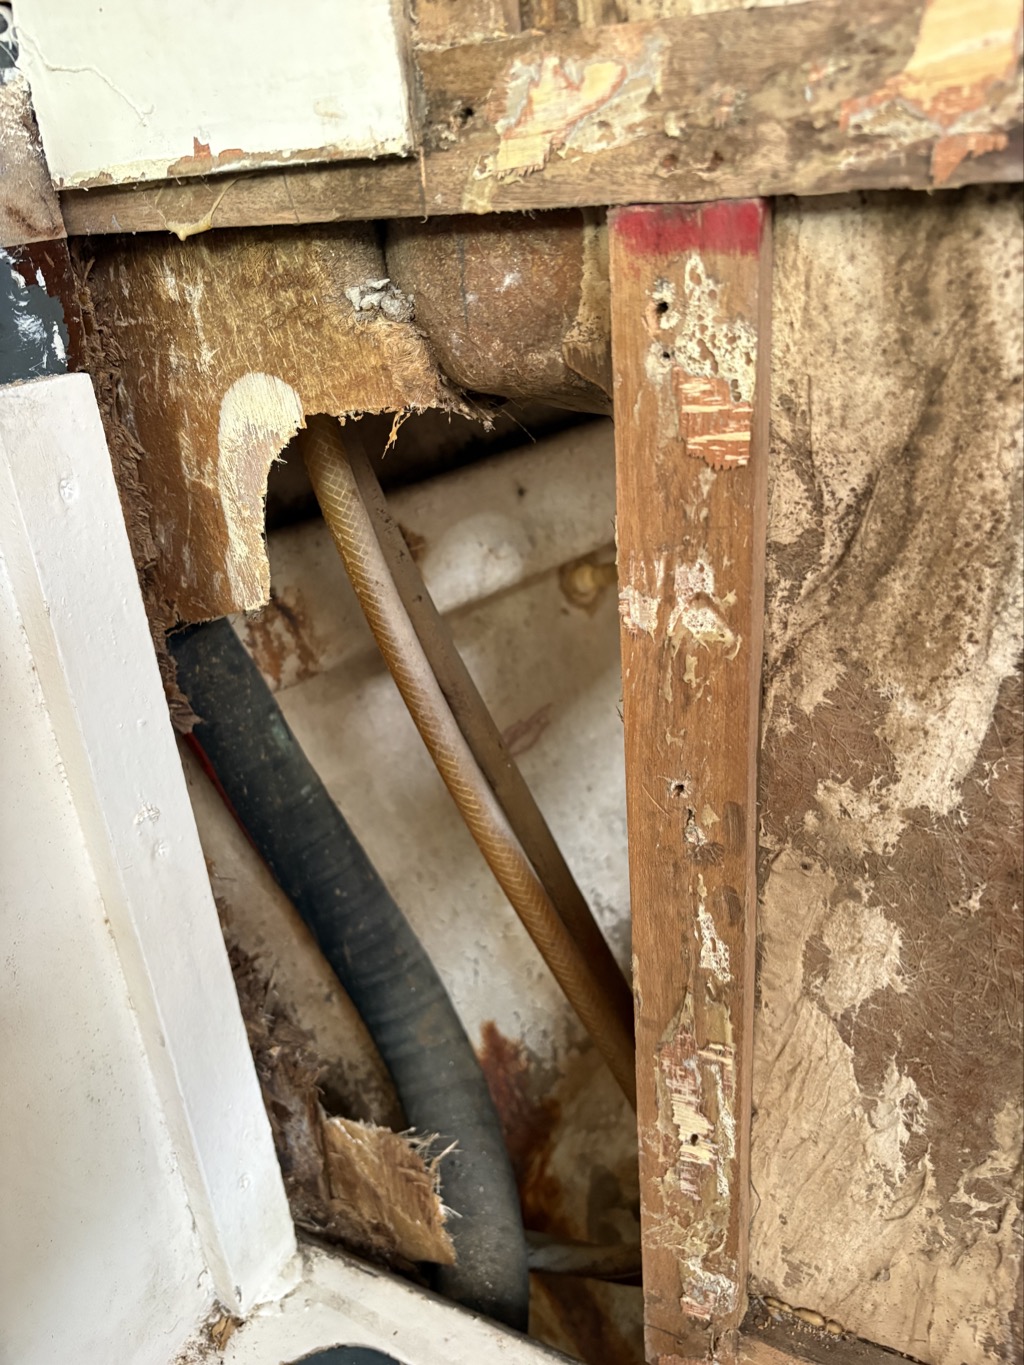
I built on the work started at Pandan Island and made templates for both sides using manila paper, initially I thought about using PVC roof material for watertightness for the repair, but it is not possible to glue that properly. So for stability I am going to use the tested Santa Clara Marine Plywood. (Another drive to the North for sourcing it).
Saloon -Galley Bulkhead
August 15-19, 2026
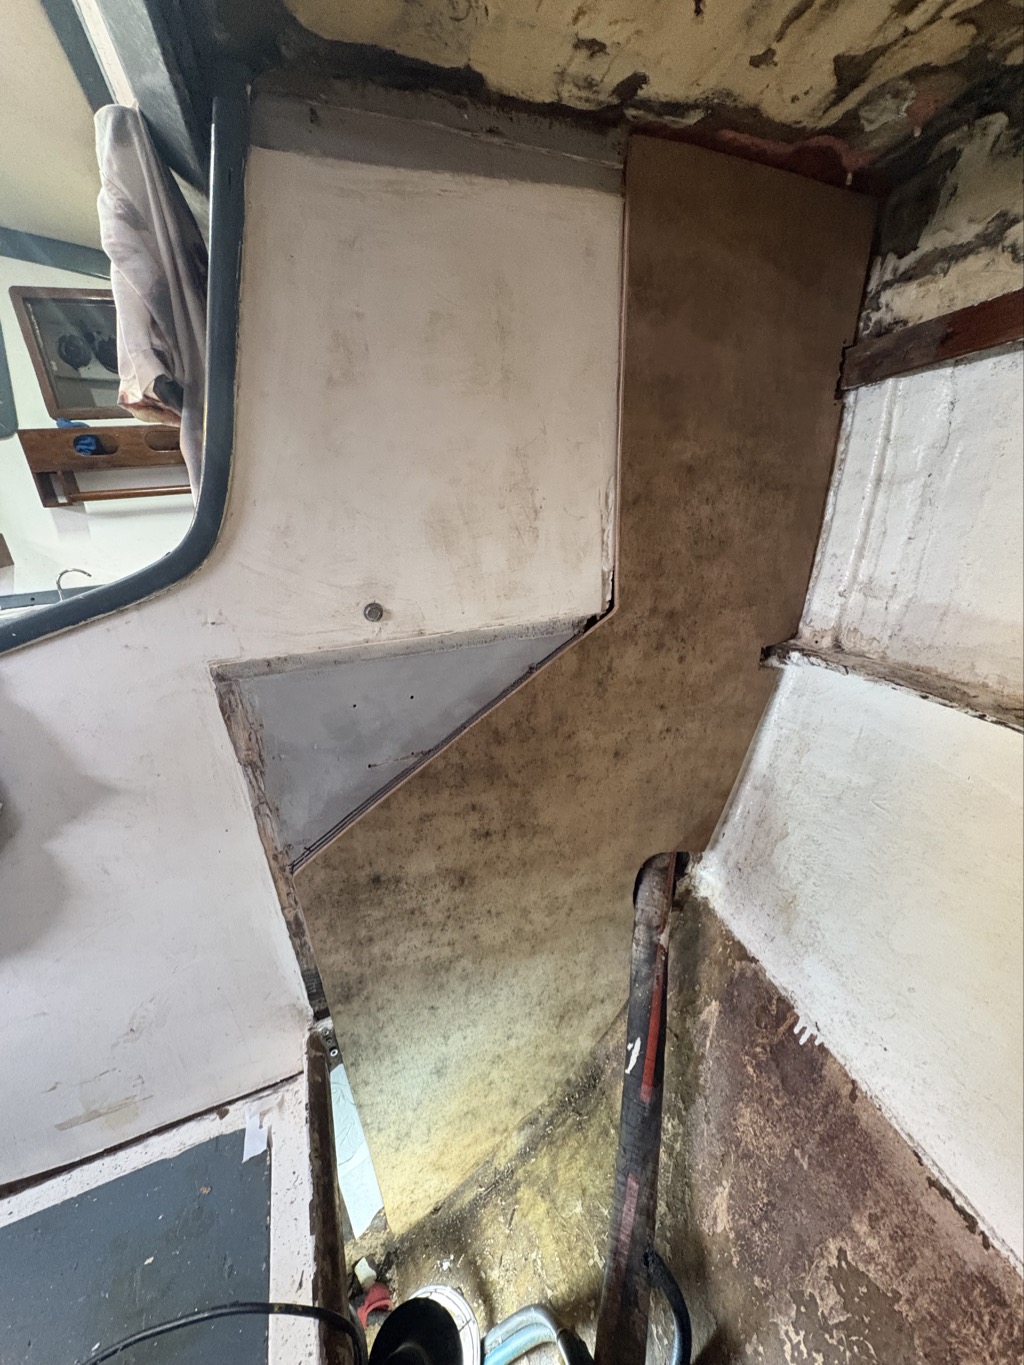
At several places in particular at the top corner and the area where the diesel tube goes through the wood was very soft. When starting to remove the rotten wood it turned out that in some parts it was more like compost, having all structure lost. First thing was to fix the leaks that cause the rot. Then to cut out the rotten parts and replace it with a custom made panel.
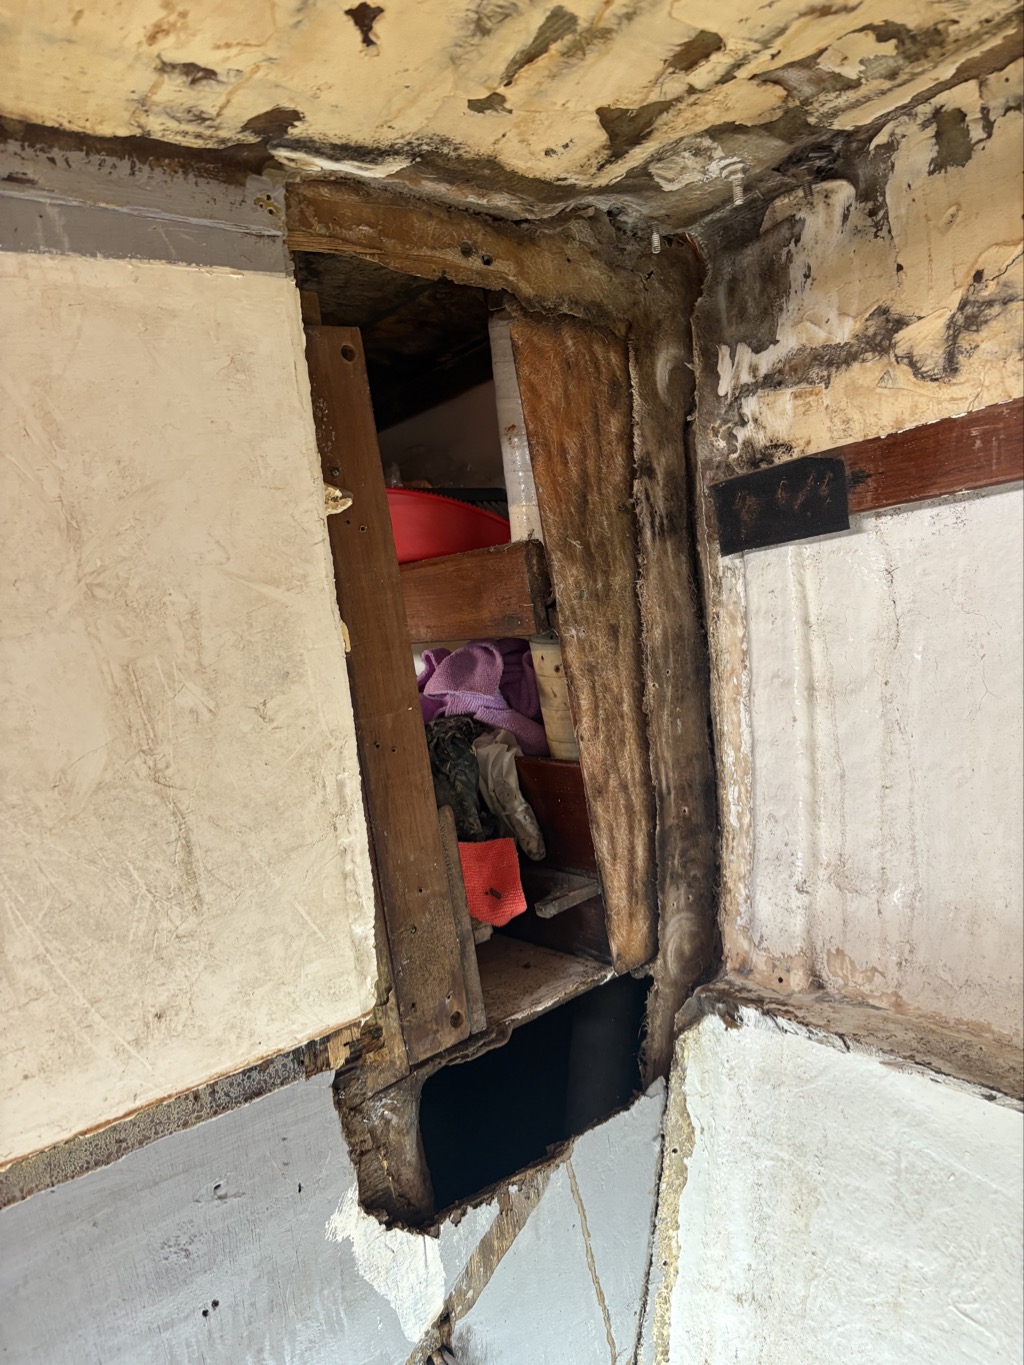
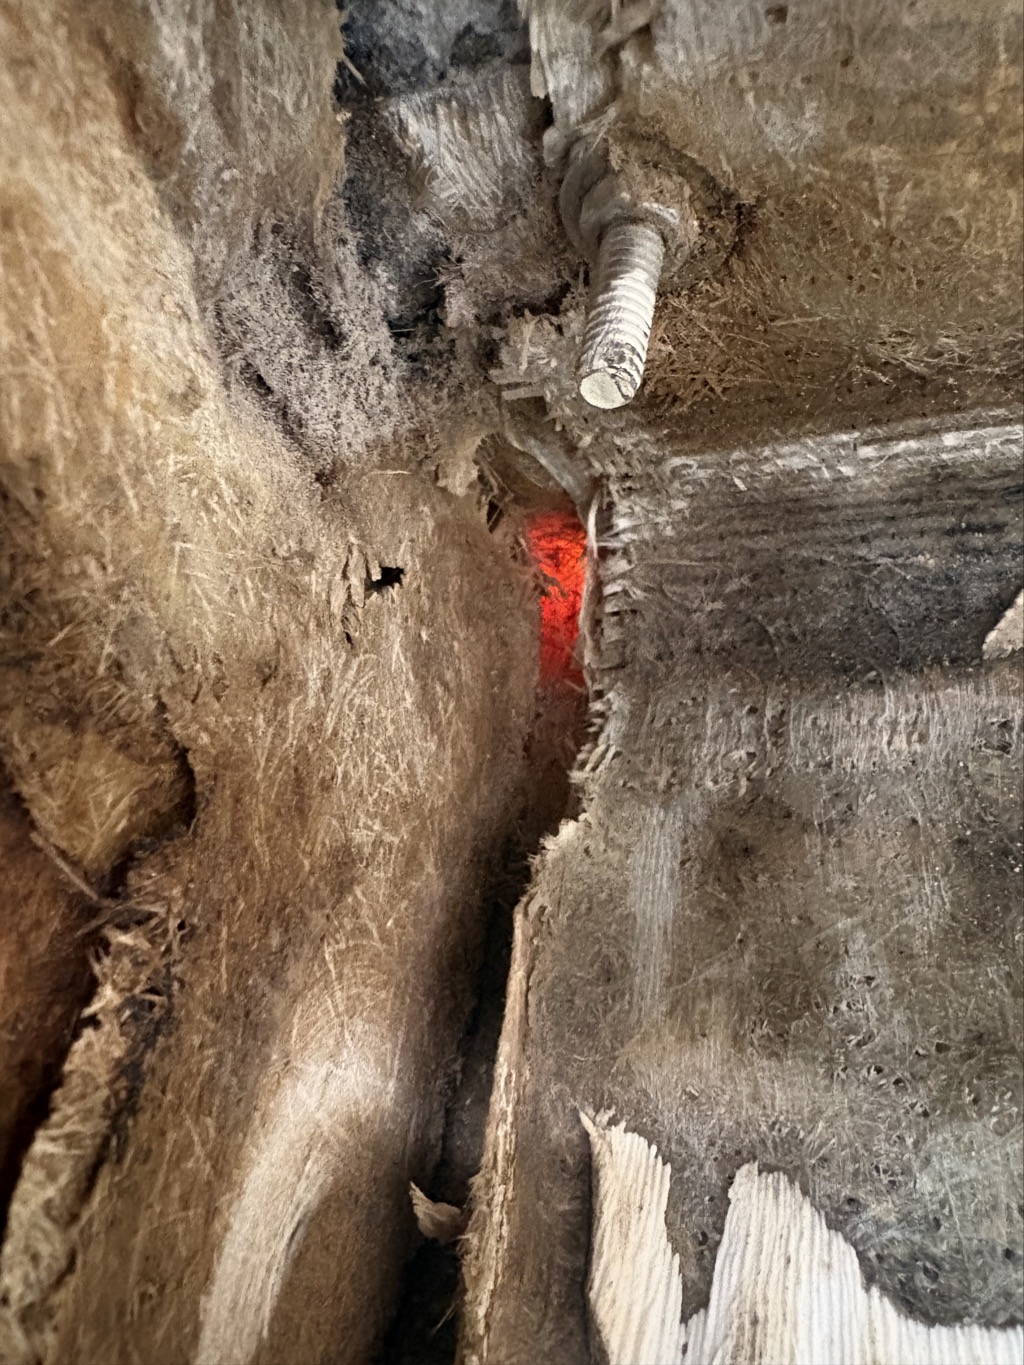
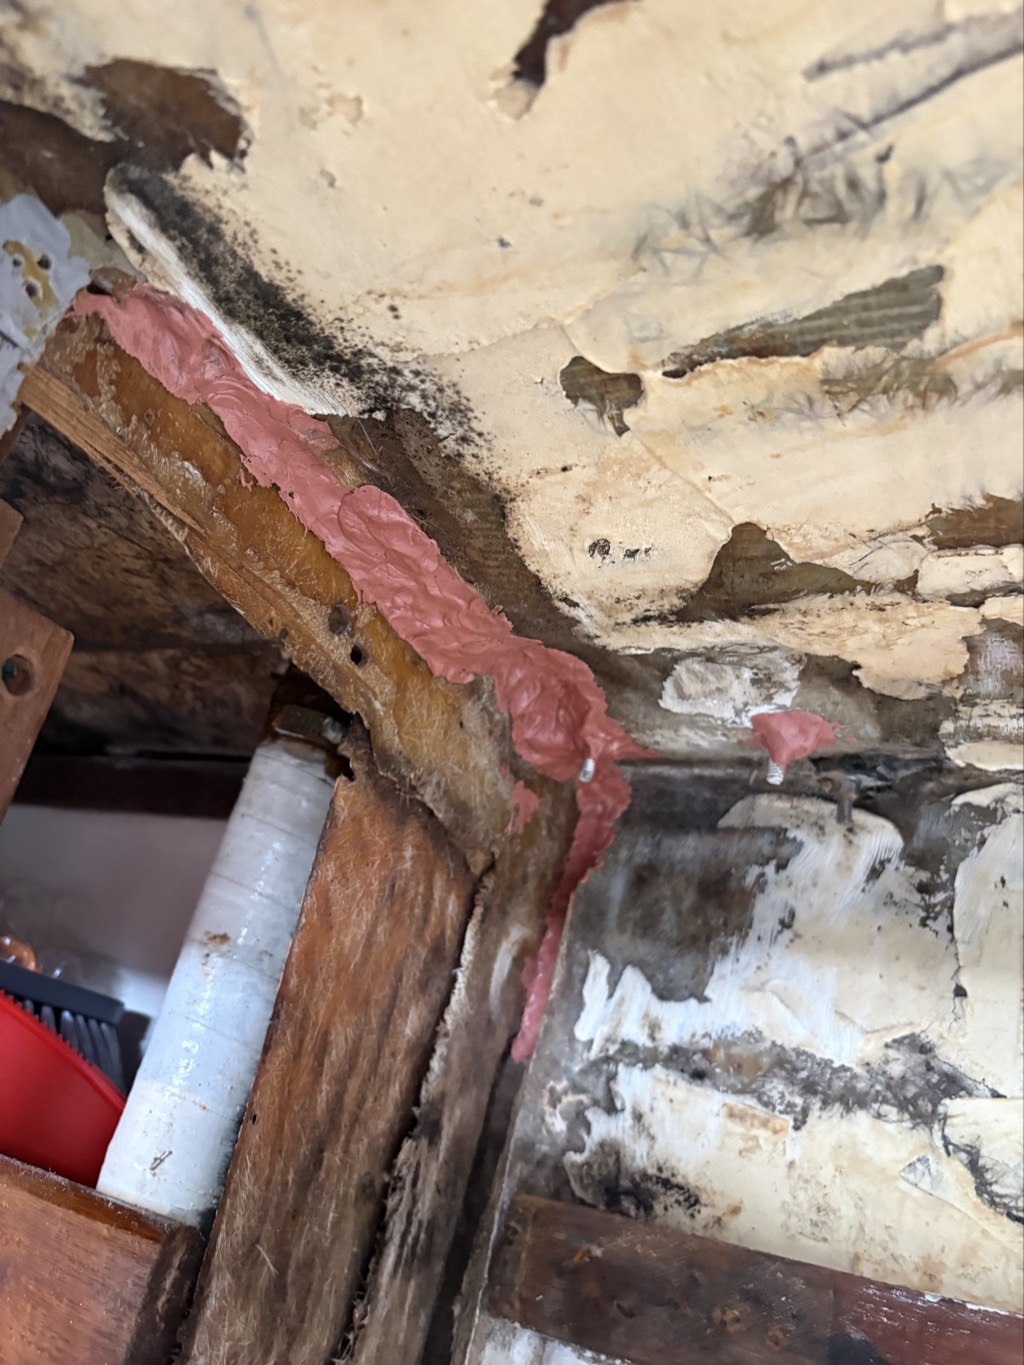
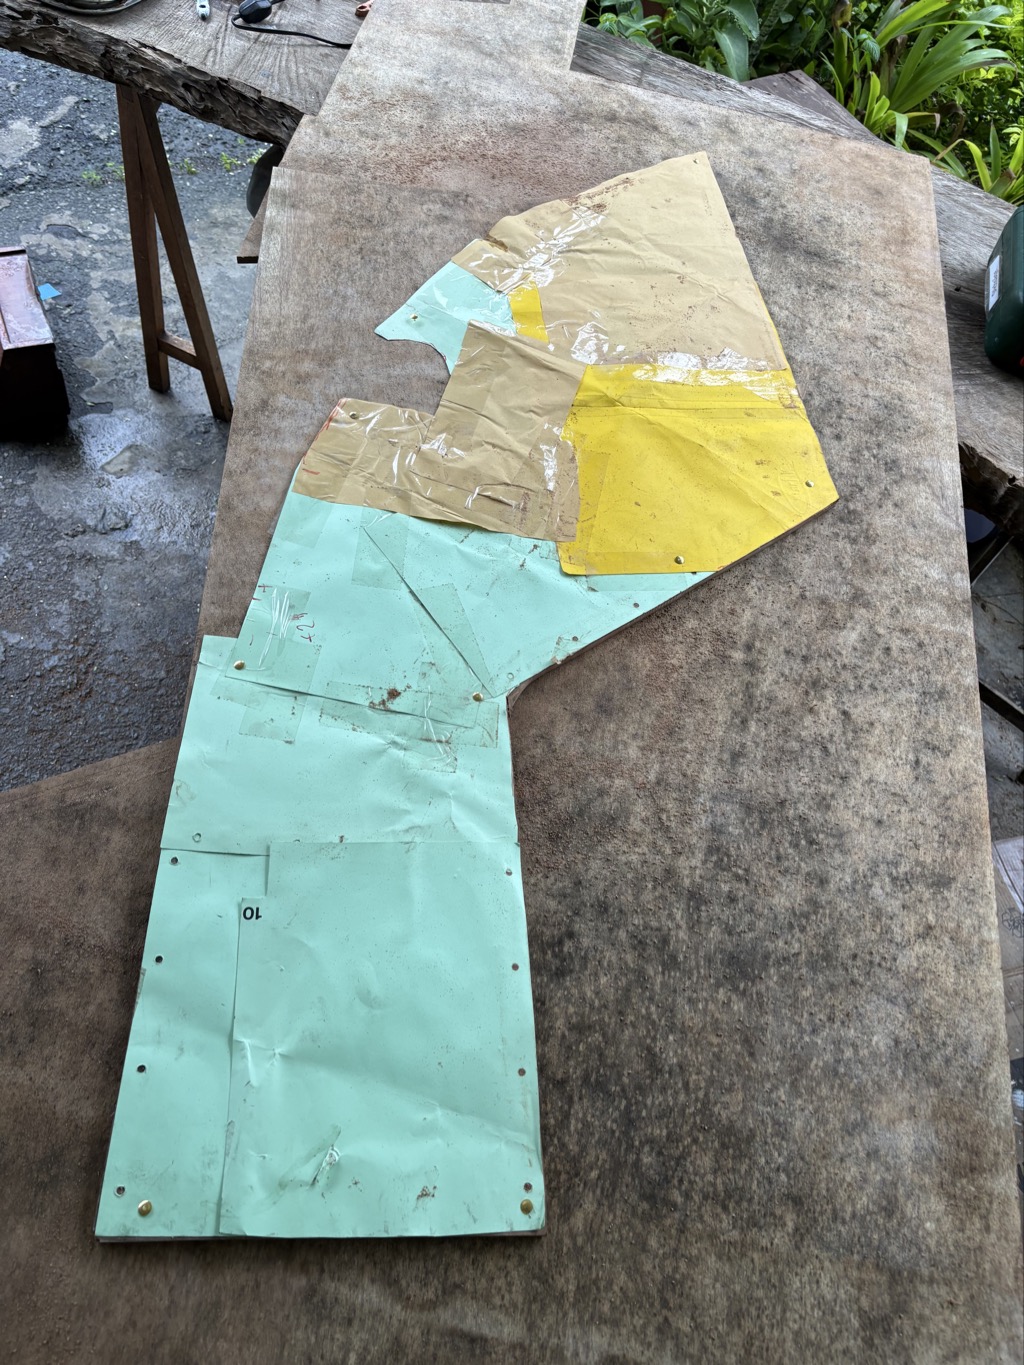
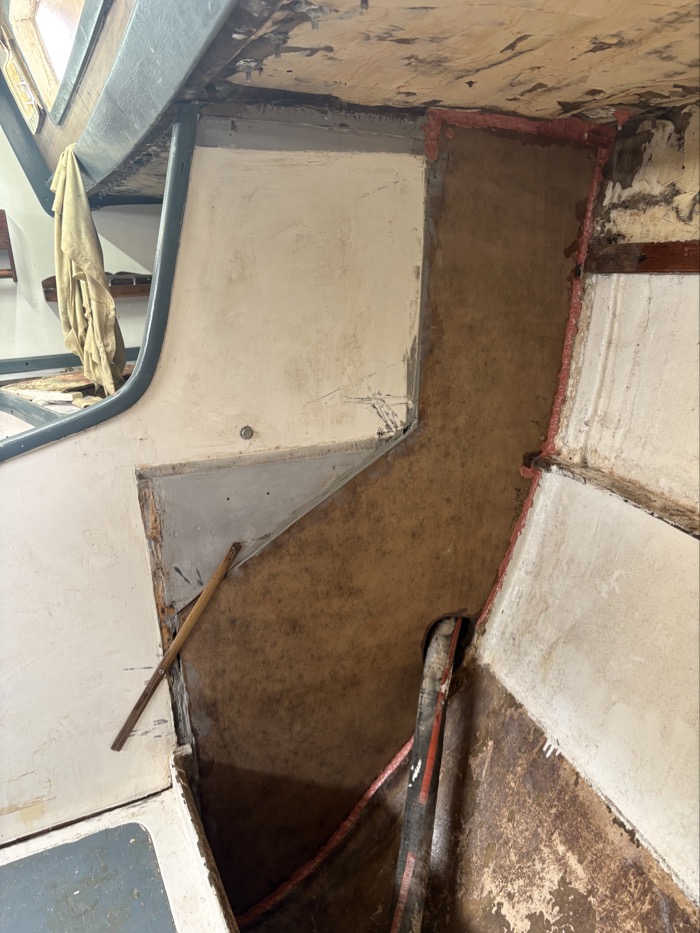
The next step was to make a new section of the bulkhead. This is an example that it was a really good idea to do the work at Watercraft due to the proximity to our house. Cardboard pieces glued together on the surface of the bulkhead in the boat and temporarily held in place with double sided tape made a template. It went from the top corner, halfway accross the ceiling, and down all the way to the floor of the bunk. (Drive home). Transferred to 10 mm plywood produced a raw replacement (drive to boat), which was then used to outline the shape on the bulkhead. After cutting the excess wood from the existing bulkhead cleaning the bulkhead and hull from the remains of the old wood (and compost) took some effort. Then some fine tuning of the new part was needed to fit the edges into the laminated bulkhead fittings of the hull. (Drive to home). Treating the inner side of the new part with anti termite stuff and primer. Let dry in the dry room of the house because of the continuous rain and high RH.
(Drive to boat) Mount the new part.
The Ceiling
May 20-June 19 (with three weeks of travel in between)
When we removed the blinds of the saloon hatch to check for watertightness, it appeared that the beams carrying the ceiling structure had a lot of clearance to the ceiling.
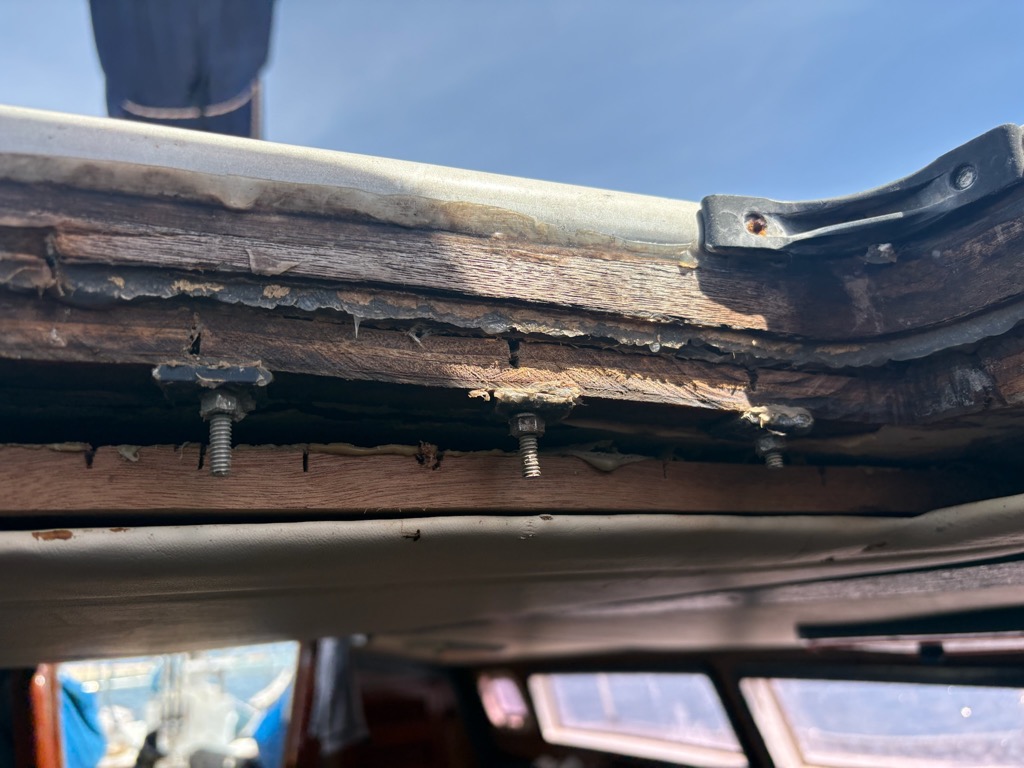
On the starboard side the panel was also sagging in the front indicating that the support frame was even more loose there. For me that had low priority since the ceiling is not essential.
But then, the next day when I came back, the ceiling at the starboard side towards the bow was sagging a lot more. It appeared that by disturbing it when removing the parts related to the hatch the whole structure had loosened up and it was just a matter of time until the whole thing would collapse.
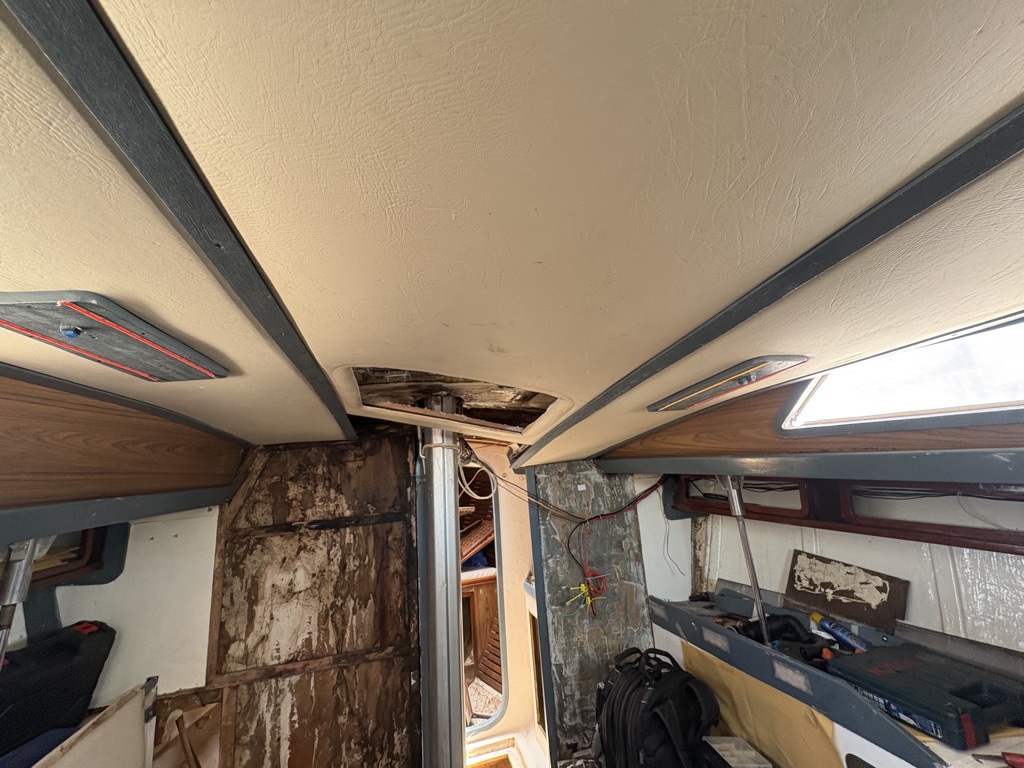
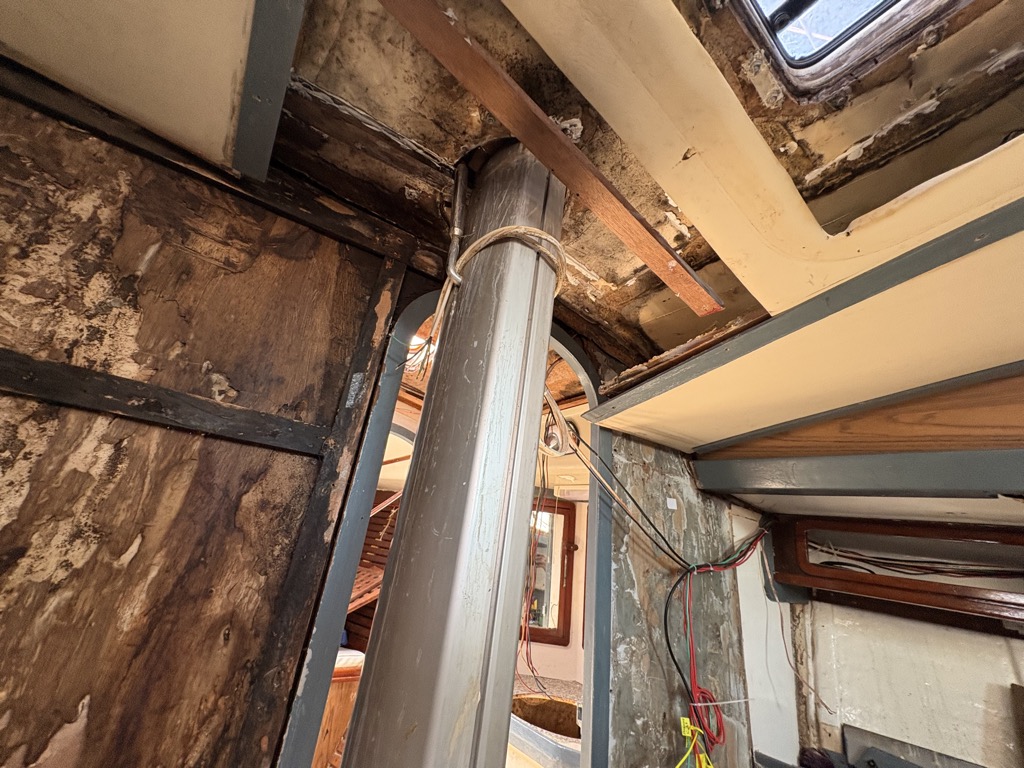
The frame at the companionway had also gotten loose.
Turned out that the frame components were only glued to the ceiling. with a thermoplastic glue, which had deformed and detached significantly everywhere. The black spots seem to be moulds caused by the wet environment with the many leaks the boat had on the deck.
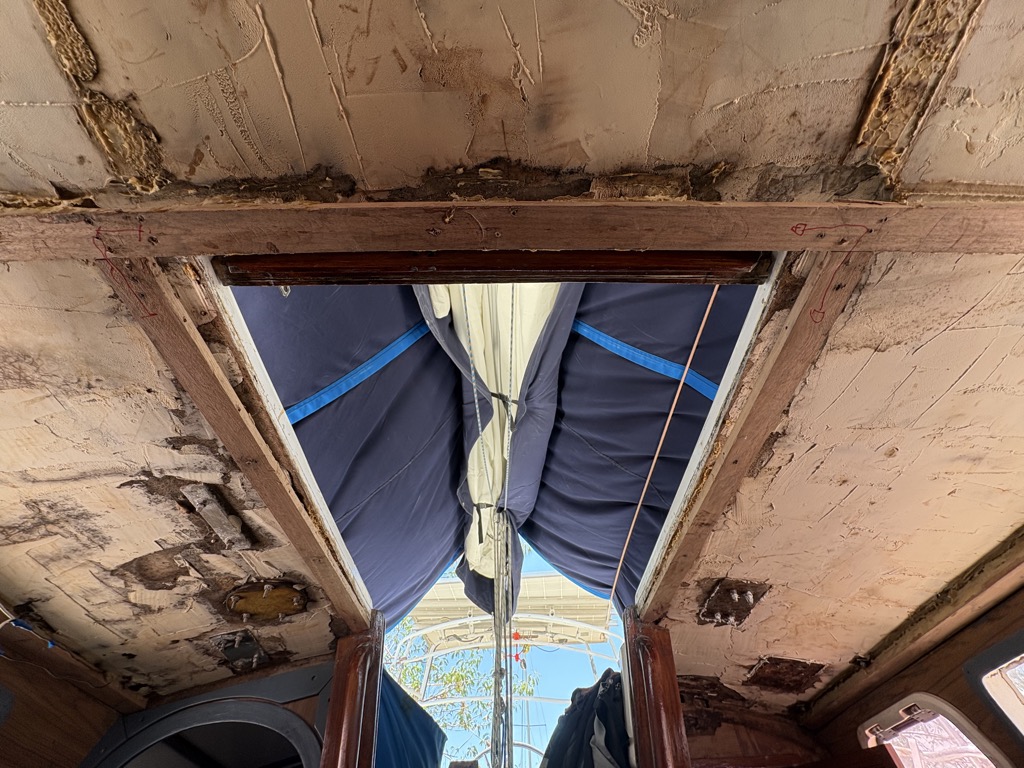
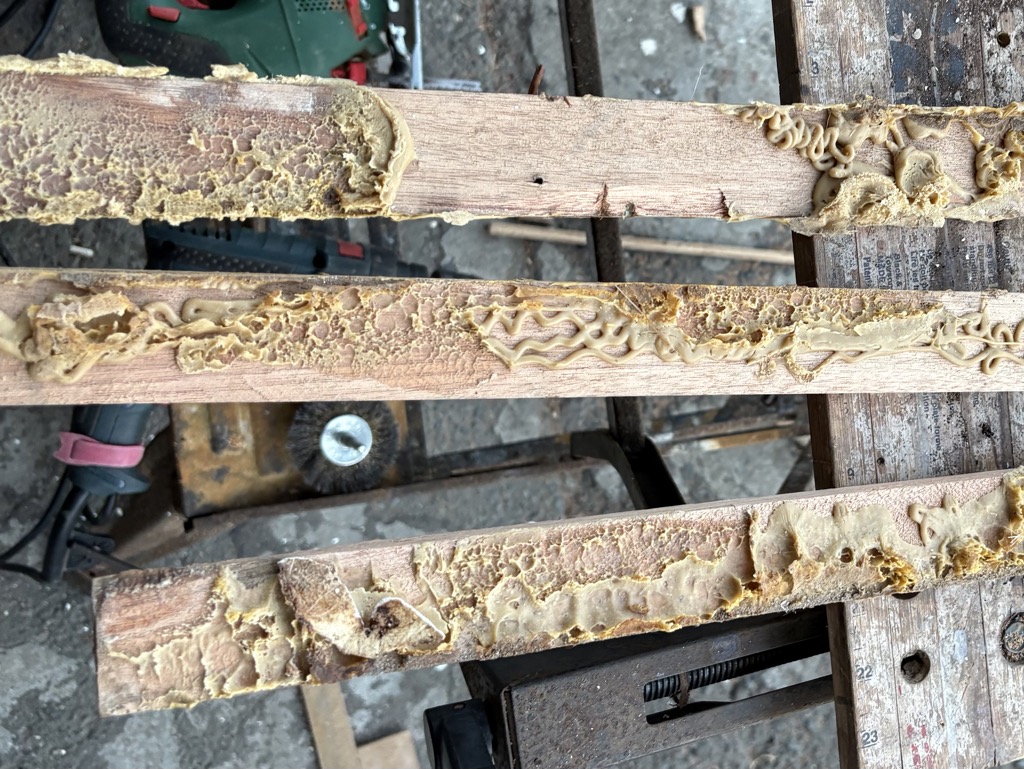
Most of the beams of the support structure were still good, only some parts were rotten, around the mast mostly where most of the water came in. In line with the idea of a circular economy I decided to re-cycle them. Besides, the wood you can buy here now is of much lower quality than the wood available 40 years ago. It took a few hours with a heat gun and a spatula to remove the old glue, and a bit of sanding to remove clue residues.
Cleaning the surface of the ceiling was quite a messy job. I could not use the heat gun as with the wooden beams because I might have accidentally damaged the fiberglass laminate. So I cut the glue remains off with a paper cutter and a spatula, it did the job but took a long time and was messy.
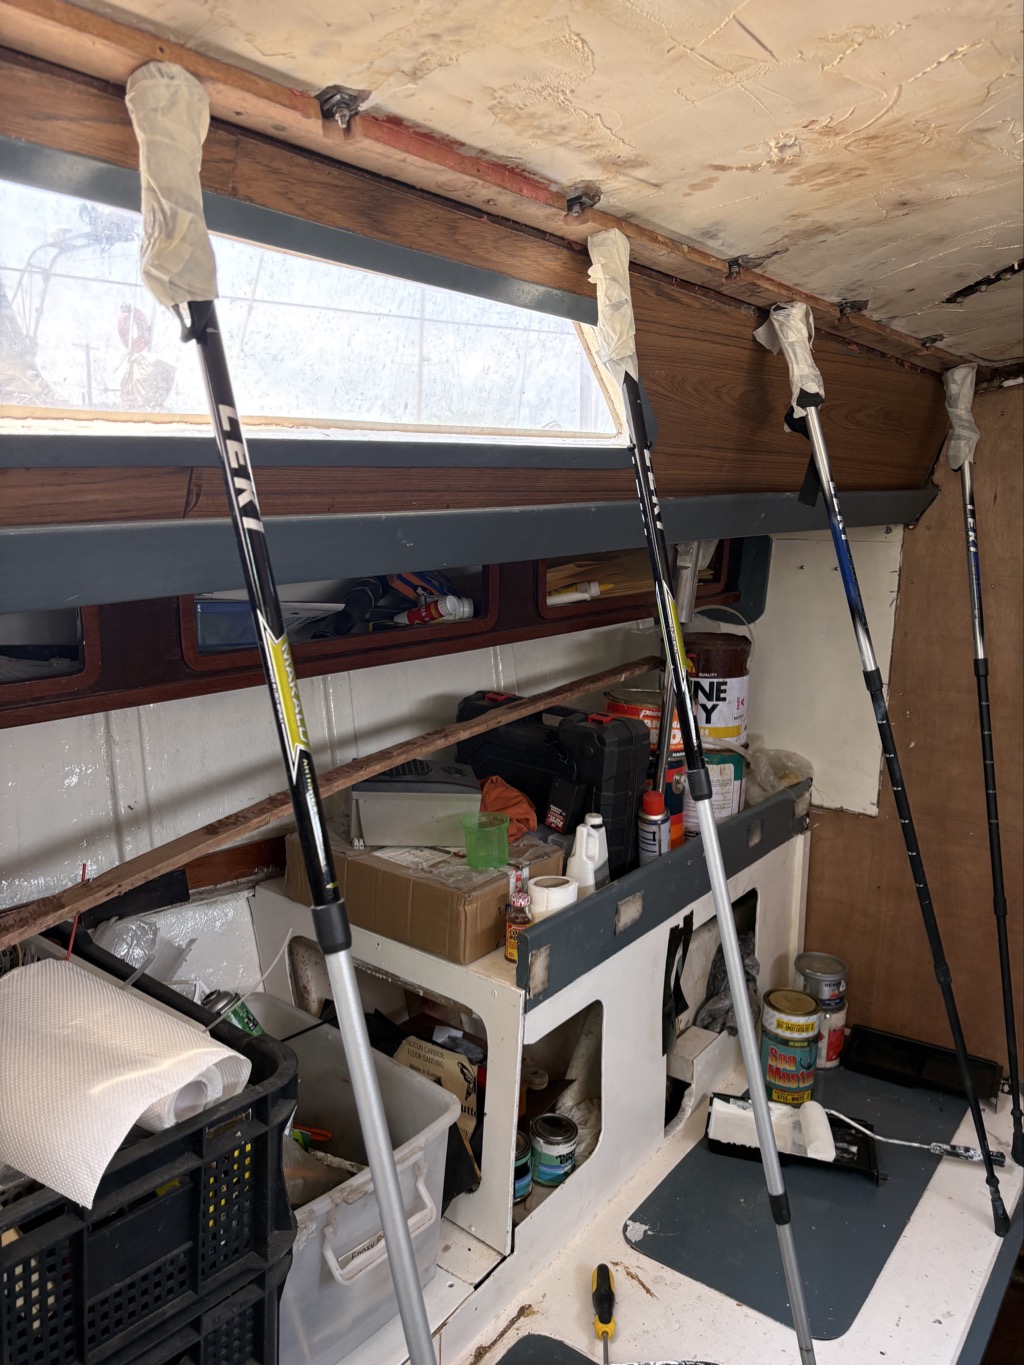
Then I re-attached the wood beams using marine epoxy and screws every 20 cm that go into the wood layer underneath the fiberglass deck. For temporarily holding the beams in place our telescopic walking poles worked well.
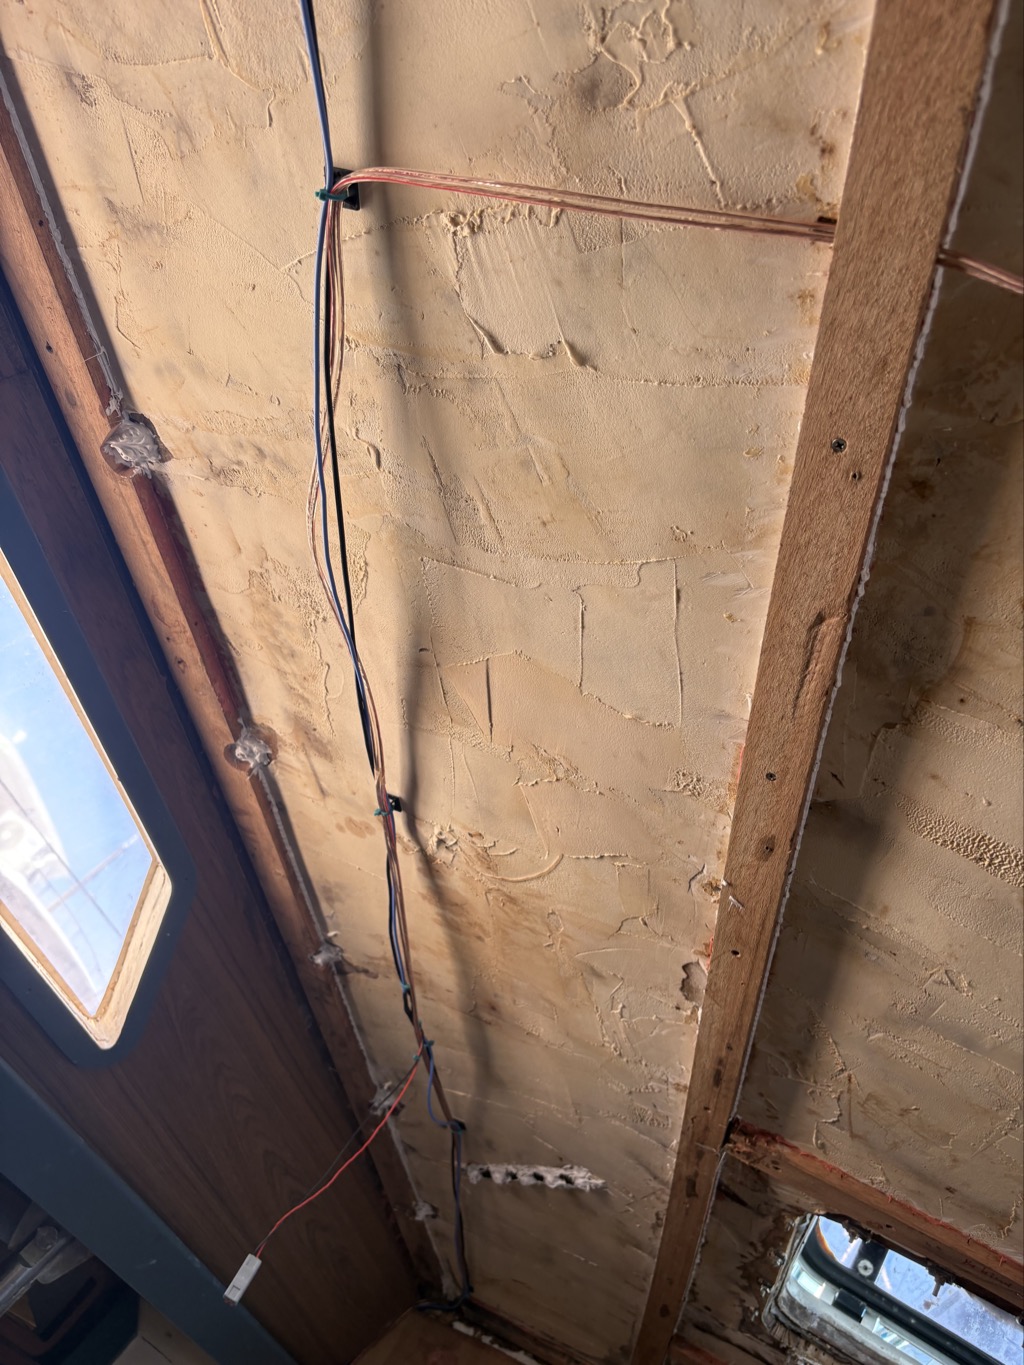
So finally all through-hull fittings and screws are sealed with silicone, all support beams are back in place (June17), cables for the saloon lights and the two blowers restored, just one more trip to the hardware shop to get some more cable for the saloon speakers. Then the panels, also with replaced cables for the lights, can be re-installed.
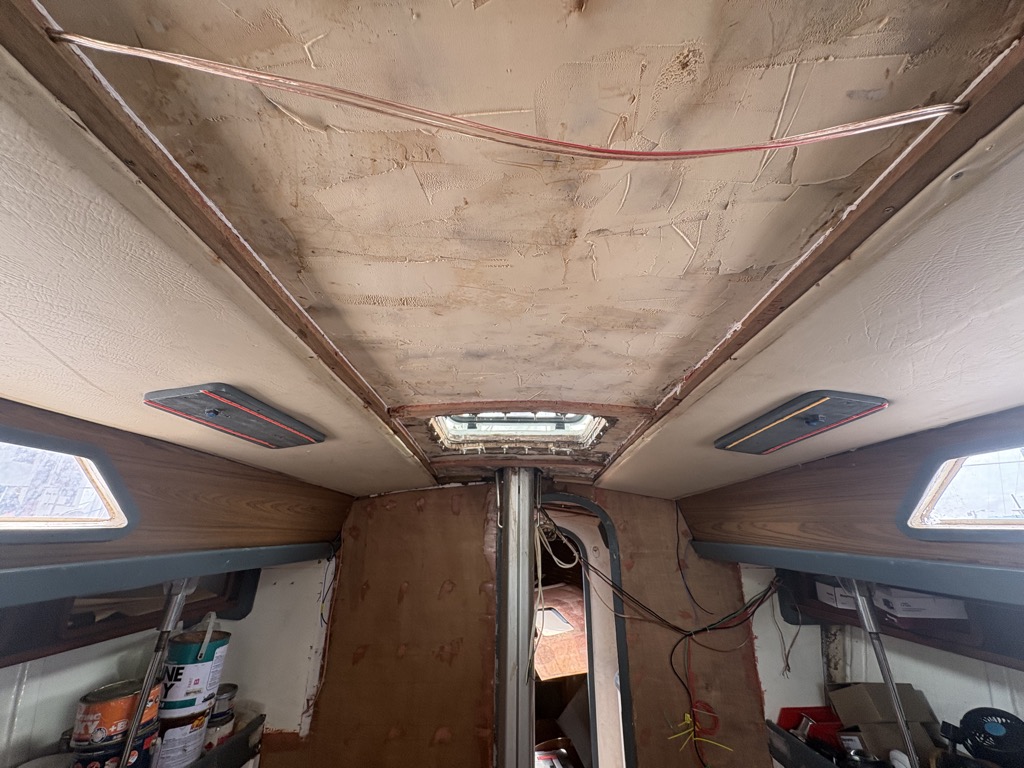
This was unexpected, it cost me around 4 full working days to renovate the ceiling.
Hatches
Some rubber gasket material for repairing the hatches came with the boat. But when checking for the leaks (Miriam flooding the deck with the water hose, me inside looking for water drops) it turned out that the hatches leaked at several additional spots, they are just 40 years old. The head hatch can probably be repaired, the most watertight one was the large hatch of the front cabin. But the saloon hatch is beyond repair. Which is a pity since it has a solar blower, which replacements don’t have as default. Cutting a round hole in the glass seems not feasible. But no choice, so after checking prices in the Philippines (US$ 1,300 for a good quality product), I ordered a replacement from SVB.
The three cockpit hatches / portholes are all broken. They had been locked closed permanently and sealed with silicone, they are beyond repair. Without these there is no option for fresh air in the aft cabin and temperatures are sauna like. So they need to be working. One option is to try to build 3 good units from the around 20 taken off Costa Rica. They are about the same size, just a little bit bigger, so the holes in the hull would need to be expanded.
June 19: Took out one of the cockpit hatches. Screws and threads in aluminium are totally corroded, it took around an hour, lots of sweat and cursing. Will bring it home as a sample.
The Galley
Hmm. This is a mess. No water, rot everywhere. No stove. The bulkhead is porous. The two sinks should be replaced but I did not find any in the size. The refrigerator cover is broken on the top and the hinges were not connected. The only thing that was supposedly working is the refrigeration unit for the refrigerator, to cool beers. That did not work either when I tested the electrics. The gas range was off the boat, the tubes and the gas bottle being removed. The sink was very messy. There was no fresh water coming from the faucet (see section Waterpump above). There is no sea water faucet, but there is a foot pump at the bottom of the sinks, but it is stalled. An assessment done in April 2026 after outhauling the boat:
The bulkhead separating the galley from the aft cabin is rotten at two places.
The top surface around the sinks used to be made of a plastic panel. That had been removed and the plywood underneath was painted white, but not with a good, water resistant paint. It is all very jucky.
There are two sinks, one fresh water faucet serving both sinks but not working.
There used to be a sea water system, as in most older boats, for saving precious fresh water, e.g. when pre-cleaning the dishes. It consists of a water filter, a sea cock, a junction with one line going into the engine room (need to figure out that later, alternative cooling water path?) and the other one to another sea cock followed by the foot pump. From the foot pump a hose goes upwards, but it is blocked by a marker pen, there is no faucet for sea water. That must have been removed at some point.
So the objectives are to 1.) repair the bulkhead, paint it white, 2.) get a new plastic surface for the working area, 3.) restore the salt water system, and 4.) clean and sort out the refrigerator. And 5.) as a temporary solution we are using the alcohol range from Magayon II, but ultimately we also like to have the gas range restored. I like the alcohol stove, but denatured alcohol is really difficult to get in the Philippines.
The bulkhead wood was partially delaminated. I removed the first two layers on the saloon side. It had a few holes and soft wood in the corner close to the window. I added a 5mm plywood panel on the kitchen side to compensate for the lost layers.
As with many other parts of the boat, I ended up ripping most things out since they were beyond repair or filthy. This included:
- All fresh water fittings below the sinks, filter, 2 cocks, the foot pump (for restauration), faucet, drainage tubes, sea cock and hull through fitting (see separate section).
- I could not take the sinks out easily so I had to jig saw around them.
- Removed the former gray table top, which was painted white.
- Refrigerator light
- All the holders for cuttlery, glasses and bottles had already been removed by the previous owner. They needed some new varnish.
I did not take a picture of the original condition of the galley:-(. The bulkhead was paneled with a plastic coating with wood structure, which was detaching at many places. The working table was painted white and looked awful. The fridge cover was loose with rotten top.
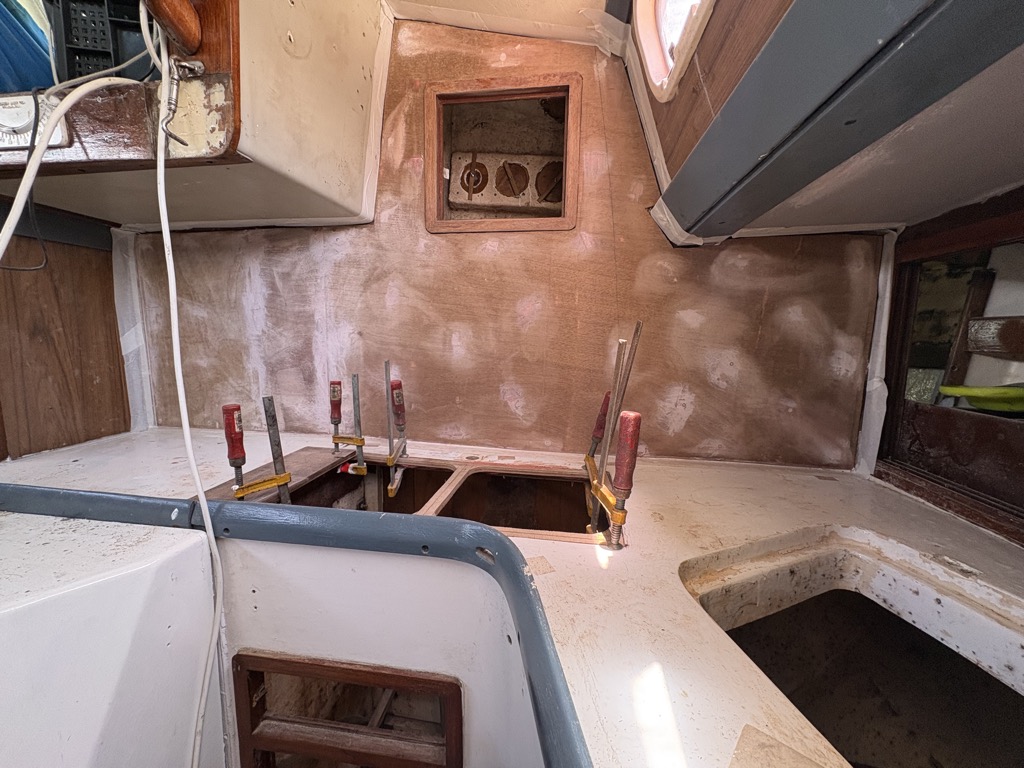
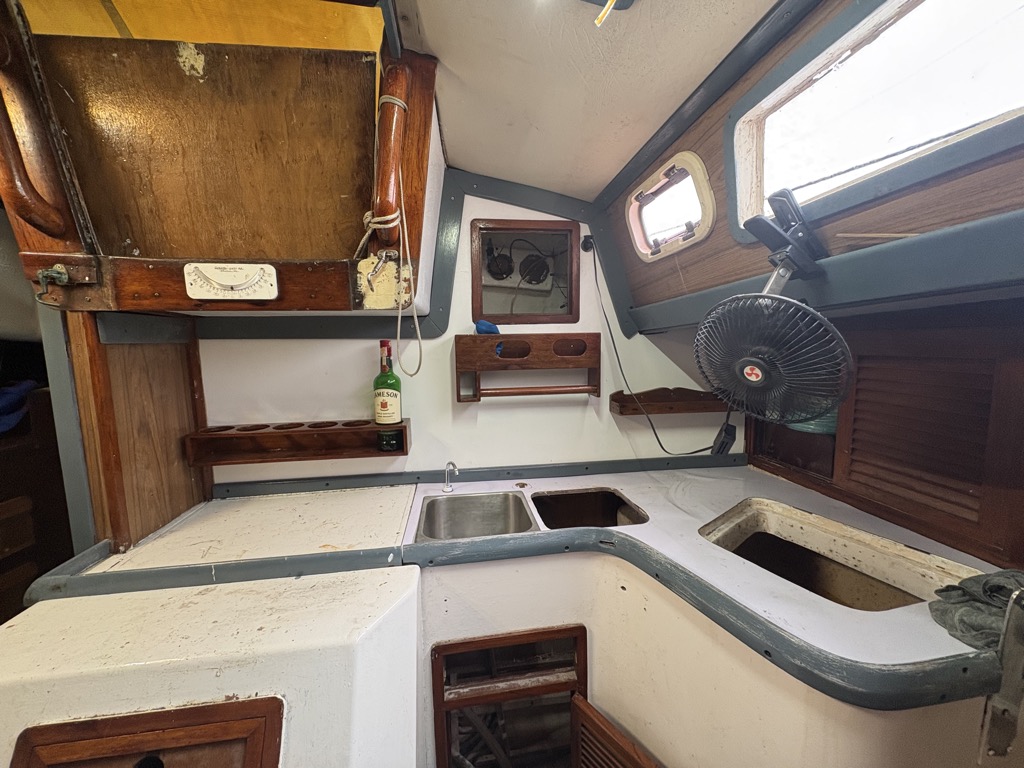
A major problem turned out to be the small compartment above the sinks. It was a total mess inside, but only in the monsoon season I figured out that the winch and the cleat mounted on top of it were both leaking large amounts of water, which then drained through unknown channels into the deck above the aft cabin, from there on the ceiling panel and then dripped at several locations through the panel in the aft cabin. This was one of two major leaks that caused the catastrophically wet conditions in the aft cabin.
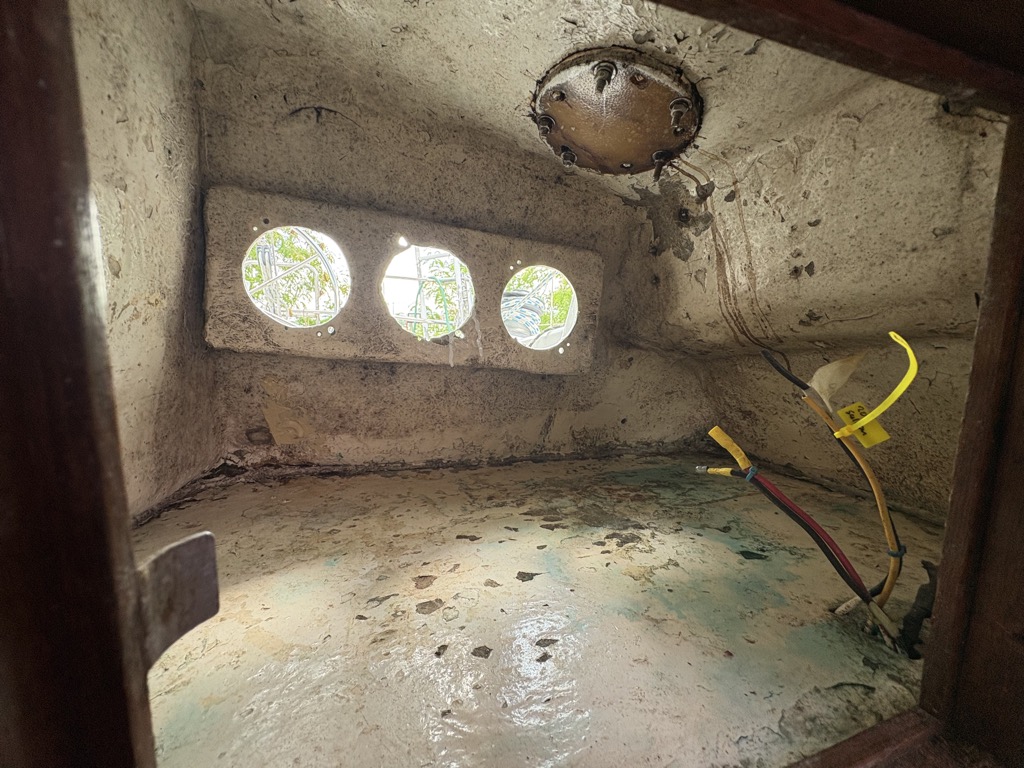
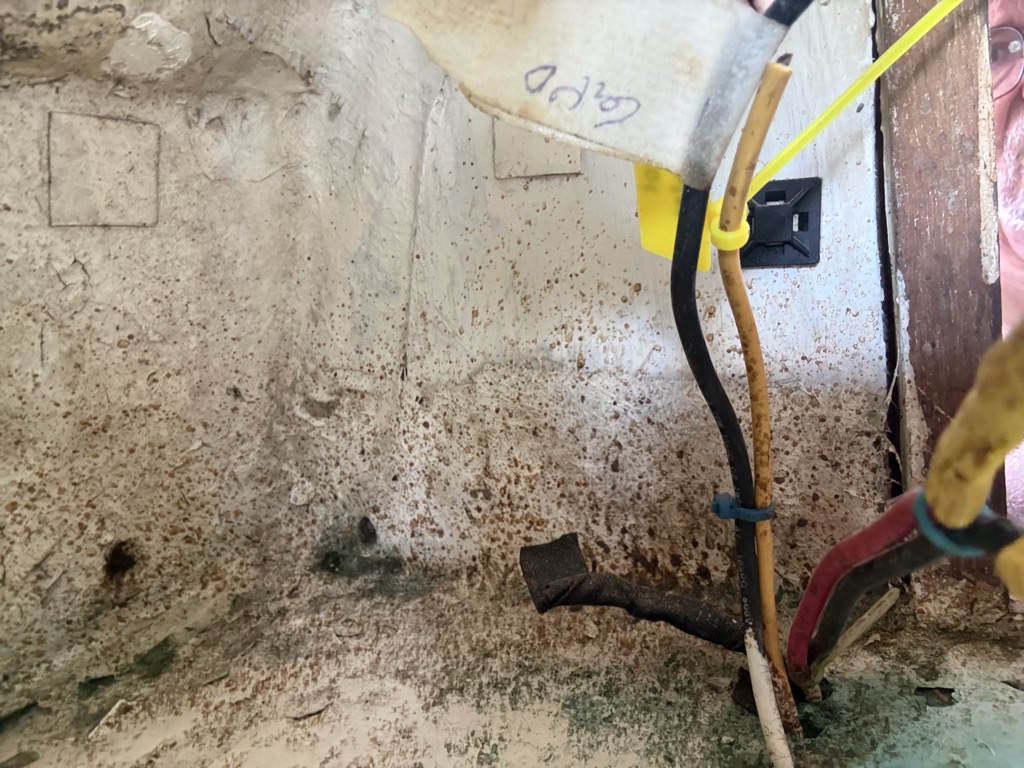
As everywhere else, the first thing was to get the deck fittings sealed to stop the water entering (see section on winches in the Deckworks page).
The Fresh Water System
Baby steps
The salt water pump?
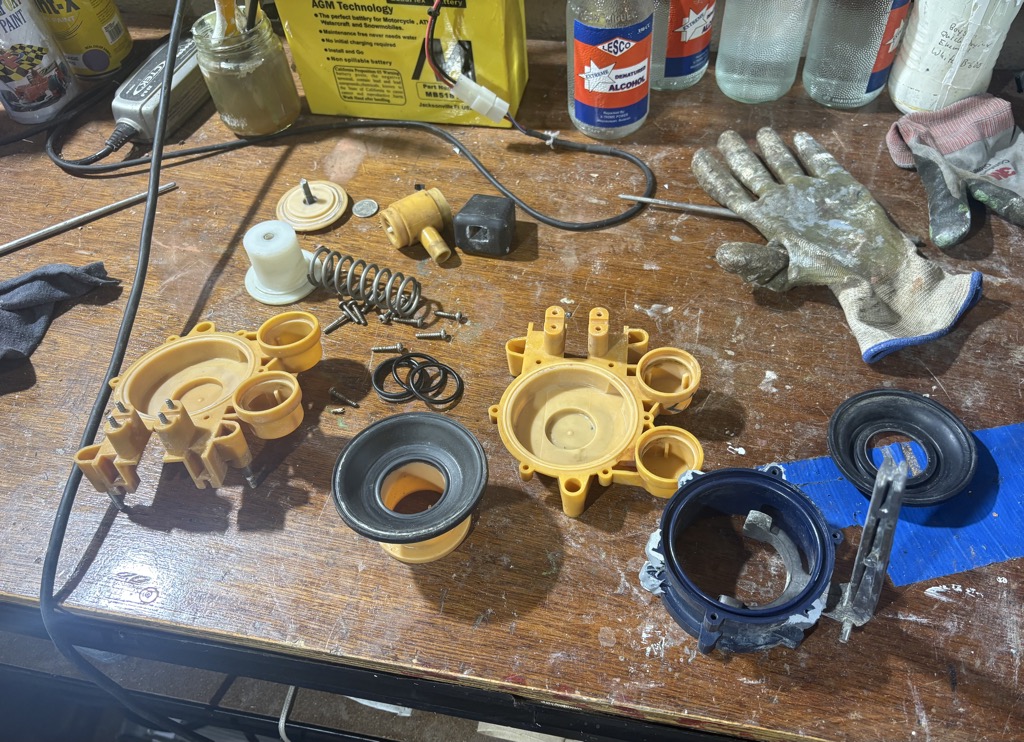
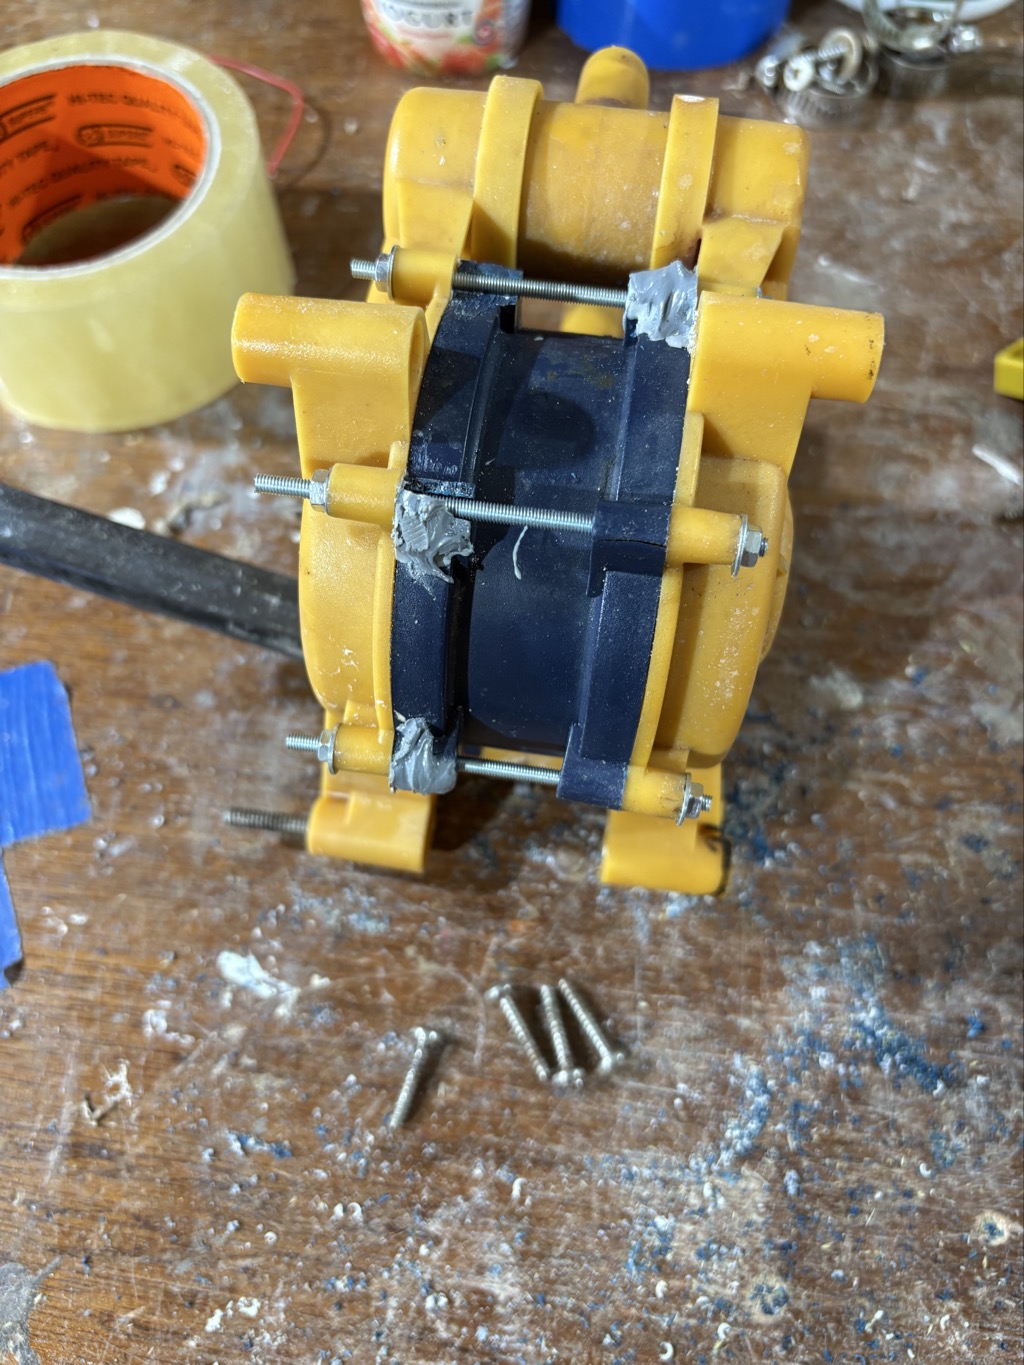
Turned out that the pump was not for ocean water, there were two valves under the galley sink and many tubings, after making sense of the functioning