Building Lemony
Page 1 of 3
Building our Optimist
We have previously built a boat in the Philippines, the Norwalk Island Sharpie 23 “Magayon”. It was mostly built by a local carpenter and the quality was pretty miserable. After shipping it to Indonesia and sailing it for some time it fell to pieces. After returning to the Philippines decided to build an optimist because the kids start to enjoy sailing and we wanted to try out better boatbuilding practices.

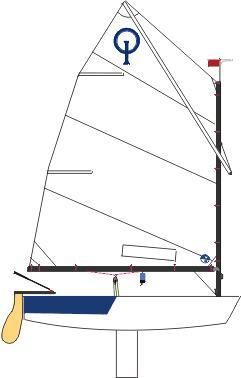
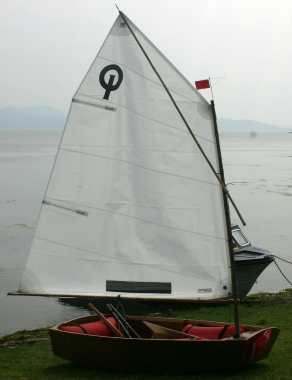
finished
The Master Builder’s Log
I started this log to keep track of the cost and labor requirement and some thoughts I have during the building process.
| 22.9.2007 | When transfering all the measurements from the plans to the plywood boards and trying to maximise the utilisation of the board Miriam said: “Now I see what all this math I learned in school can be used for.” Maybe they should make boatbuilding part of the curriculum in schools. |
| 6.10.2007 | Saturday, I worked for 4 hours on the boat, finishing fitting the stringers and working on the centerboard casing and the mast foot. I also bought new wood (replacement for the stringer that broke). In the evening in the pool while I was doing my laps I reflected on the day and why I felt so satisfied with it. It is so different working on something that takes shape in front of your eyes than sitting in front of the computer the hole day. |
| …. | (Many logs missing) |
| 10.3.2008 | We now consider the little boat finished. The kids still need to agree on a name and one fiberglass coating on the bottom will still be applied but on principle she is ready to sail. We had launched in Taal and little improvements will be made piece by piece.Building took 100 hours of Martin and and estimated 10 hours of the kids. The total cost was 660 US$ and 772 US$ for the whole project including some tools we did not have and had to buy. |
Building Lemony
Building
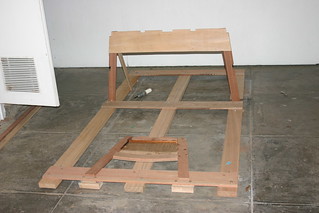
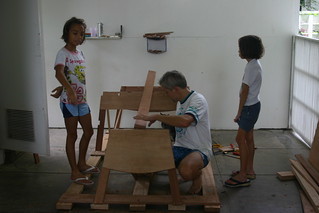
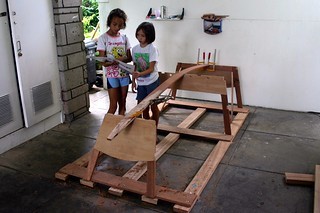
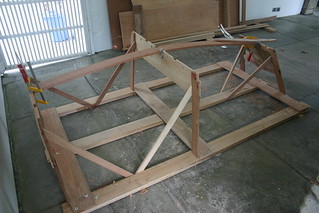
There is a lot of initial work where you don’t see the boat taking shape or making progress. Buying wood, building the frame that holds the bulkheads in place until the hull is self supporting. A solid frame is important. We bolted it to the concrete ground with 8mm screws, just to make sure. I hope our Landlord, IRRI, will forgive us the 6 holes I had to drill in the pavement:-)

When transferring all the measurements from the plans to the plywood boards and trying to maximise the utilisation of the board Miriam said: “Now I see what all this math I learned in school can be used for.” Maybe they should make boatbuilding part of the curriculum in schools.
The fun begins
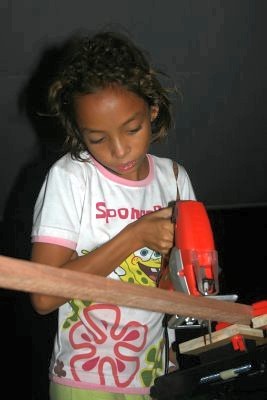
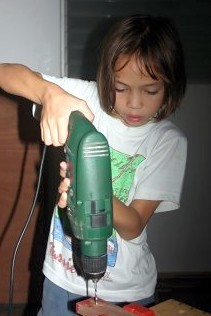
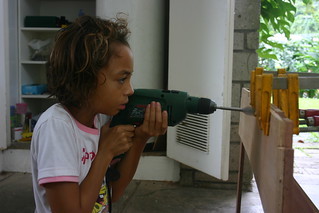
On 28 September the fun began. The actual work on the boat started and Miriam and Kata got really excited and helped a lot.

The first problem: Wood quality


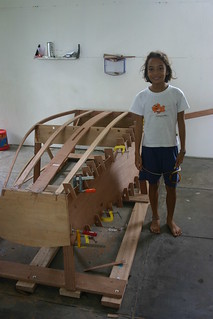
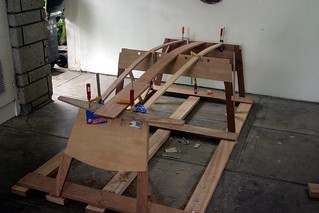
4 October: Fitting the bottom stringers at both sides was the most difficult job so far. The wood we bought at the local wood shop in Los Banos in the Philippines is just too poor quality. Lots of cracks and bends, it is hard to find a straight piece.One stringer broke right away when we tried to bend it in shape. We then wetted the wood and then bent it in shape slowly over several hours using ropes that we tightened slowly while keeping the wood moist. It did work at the end.
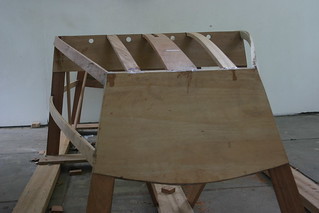

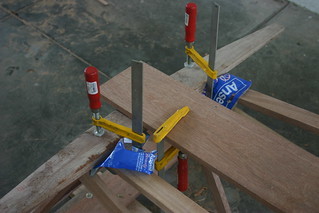
Fitting and glueing the plywood boards on starboard and port took significant time on two weekend days. We had to buy additonal clamps first after we already had depleted the stock of the local hardware store. Still we did not have enough and therefore we cut around 40 ‘Krampen’ out of the 1/4 inch plywood board. They worked very well for fixing the boards until the epoxy had hardened.
Completion
Lemony sailed well but the bamboo spars were too flexible. It was difficult to rig the sail properly. We bought a proper mast, boom and sprit during our trip to Germany in 2010.
