My other pet project
Why?
I find electric mobility quite exciting. I already converted two bicycles in a pedelec and in an e-bike respectively and I have also converted our Yamaha 8hp outboard motor into an electric outboard motor for Magayon II. The other project is a tricycle for transport use in the Philippines, but that has lowest priority because right now it probably can not be registered legally.
This blog contains a log of the motorbike conversion and is under construction…

The donor bike
The original idea was to design a conversion kit that allows people to convert their existing Enduro / Double Sports motorbikes, e.g. after the engine is broken, or if they are just up to it. There is only a limited number of dual sports bike models in the Philippines in the market, so this would favor this idea. One of the most common bikes is the Honda XR200, and I have one with a long history. Originally it was my own bike but then I had sold it to a friend when upgrading to a Yamaha TTR250, but I had bought it back when my friend left the Philippines. The first idea therefore was to convert the Honda. But then, the Honda had a perfectly fine engine with new, oversize piston and other jobs done recently, so why spoil a perfect work horse bike?
So I checked all facebook groups and internet sites I am aware of for a reasonably intact enduro with a broken engine, assuming that then it would be cheap. No success. I also asked friends, whether they know somebody, who knows somebody who has a bike that is of no use anymore. Finally Eugene came to the rescue, his brother had a disassembled Yamaha DT125 in his garden. It was not the local model air-cooled but was imported from Japan with a water-cooled engine, which was not there anymore.
He donated the bike leftovers to me, basically the frame, swing arm, fork and both wheels and all other components that I could use with some restoration since the thing had sat outside in the humid tropics or years and was in quite bad condition. I picked up the donor bike and disassembled it completely getting rid of all parts that were needed for the Internal Combustion Engine.
Components

Besides the frame and suspensions the electric motorbike needs an electric motor, a motor controller, the battery, electric throttle, display, brake levers with switches to make sure the motor power is interrupted when braking and to engage recuperation during braking, and a few other components.
Motor
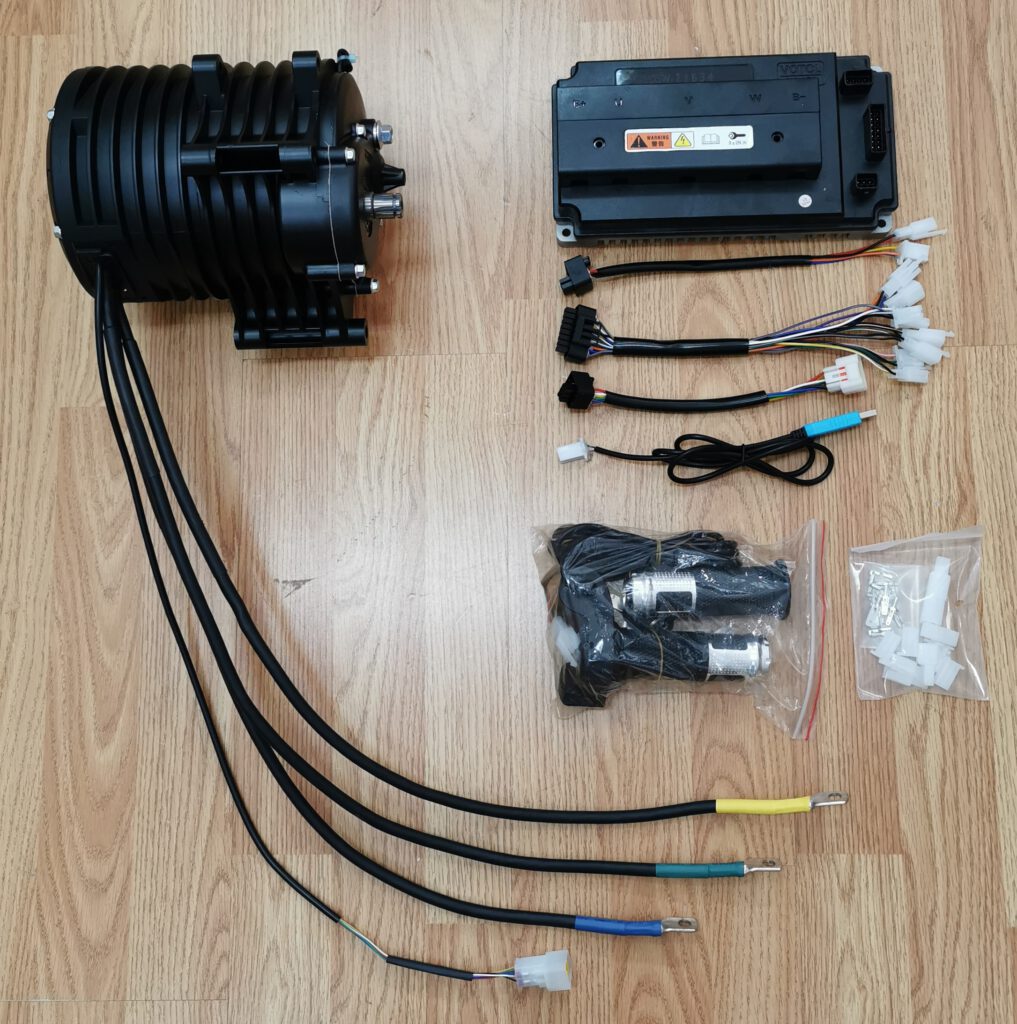
For the motor I use the second electric motor I had bought for this pilot project online from QS motors, directly from the manufacturer in China. It has a mechanical speed reduction and an outlet spline shaft for standard motorcycle sprockets, so it is more suited for a motorcycle conversion than the Goldstar Motor with the same power I had used in the outboard motor conversion. It has a nominal power of 3kW . Operating voltage is 72V, resulting in around 42A under constant full load. It can be overloaded short time up to 120A delivering 8.6kW peak power or 11.5 hp.
Controller
The Votol EM150 controller came pre-programmed for the motor and can deliver up to 150A.
Battery
Due to the high energy density the battery will be constructed using LiIon cells. This will be covered later. The aim is to have at least half of the motor capacity, so around 1.5 kWh or better 3kWh. 20 cells in series would provide 74V.
Throttle
Display
I ordered the display separately from QS Motor.
Additional components
In addition to the key components above, the following are also needed:
- Ignition switch
- Main fuse
- Emergency off switch (Not Aus)
- Voltage converter 72V DC to 12V DC for lights and other controls
- Lots of electric wires with the diameters appropriate for the currents
- Switches for electrical components (lights, horn, …)
Testing the components
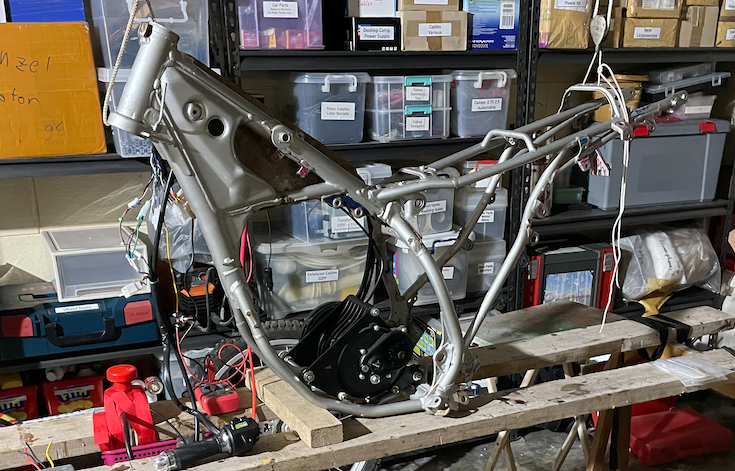
Testing with the key electrical components after the motor brackets were fabricated and mounted.
First test of E-Maha from MGummert on Vimeo.
Construction
It took some time and study of the many projects documented in the internet to design and manufacture the motor brackets, while ensuring that the sprocket of the motor is aligned with the back wheel. I designed the brackets for the motor with the CAD software Shapr3D and then had the parts manufactured using Hubs, a Photolabs company linking manufacturers with customers through an internet platform. Quality was mediocre, but that is another story. Distancers were made by Eugene. I did not change any structural parts of the frame, just removed some of the non structural elements that were holding components related to the gasoline engine and fuel system. After having all the mounts manufactured and fitting everything it was now time to clean up the frame and have it sandblasted, primed and coated.

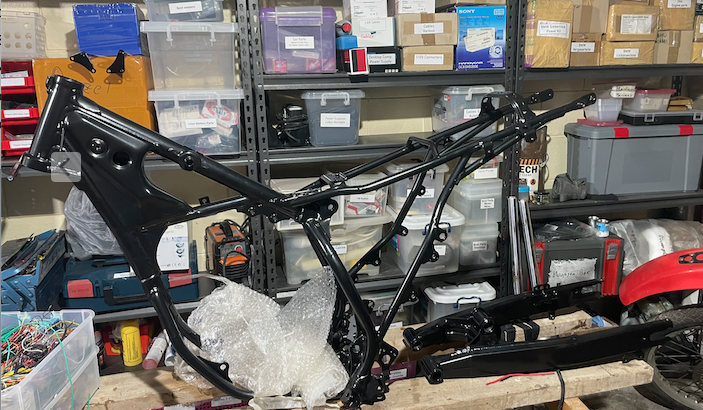
After some time the fame, swinger and some other parts are now back from Jeffrey, freshly cleaned up, sand blasted and powder coated. Some bearing I had bought as kits did not fit, so there is some more work to do to get all parts needed, but basically the bike is now ready for assembly. I had to do some adjustments to the bearings in the swinger, which I then mounted together with the rear shock absorber / spring. Next step was to mount the motor and secure it by tightening the bolts after aligning the sprocket with the gear wheel of the back wheel.
The area where the tank used to be will be the location for the controller and other electrical components. I constructed a frame with plywood core coated with several layers of fiberglass that goes around the top frame tube to hold the components, and placed the controller making sure that the fork does not hit it at maximum steering lock.
This was in May 2024 when we moved from LB to Subic, all work in progress was packed in boxes for the work to be continued in our new home.
