The Restoration
Restoration, the plan
Part 1: Purchase and Assessment; Part 2: The Restoration; Part 3: Improvements
The main points of the initial restoration plan:
Engine
- Overhauling Crankshaft (in Germany)
- Overhauling Cylinder heads (in Germany)
- Instead of re-boring the cylinders, fit a Siebenrock power kit
- Overhaul the carburetors (a gasket kit for each should do)
- New right handle with proper throttle cables
- Re-fit choke
- New ignition timer
Frame
- Sand blast and repaint the frame
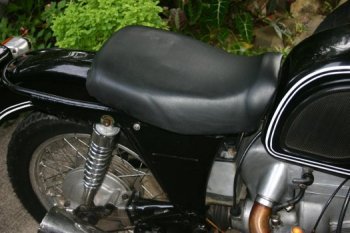
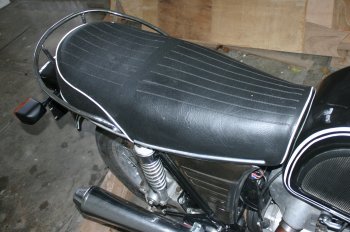
- Fit new seat for 2
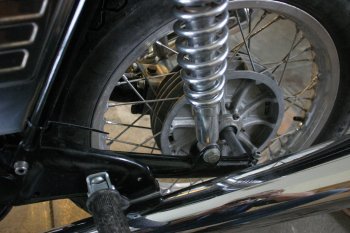
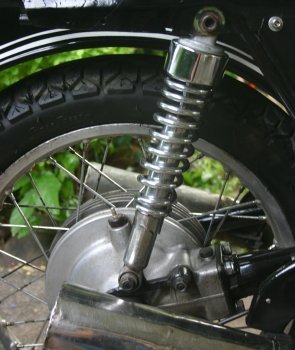
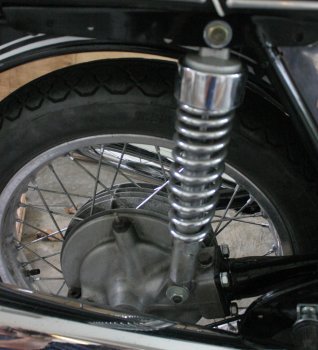
- Put rear shocks in original position
So I started to take the cow apart and with each part I removed it became clearer that it would have to be a full restoration job. Few parts were original. The ones still original were worn or broken. Once you have taken a bike apart to a certain level you don’t want to put it back together with many of the parts not fixed and risk having to take it apart again the next year.
The big chill
Back to Germany
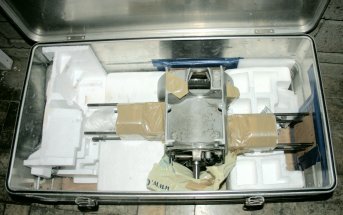
Well, the 2009 home leave was coming up soon. The idea to buy some spare parts in Germany actually helped deciding to buy the BMW quickly. But then, after realizing that I was lacking several special tools to take the engine block apart, I decided to take block and the two cylinder heads to Germany for overhauling. I had to go to a conference in Thailand first and alone I would not have sufficient luggage allowance I therefore asked Mavic and the kids to bring the parts. Together with a friend of the kids who was also travelling they were 4 and therefore had a lot bigger luggage allowance. I used found this old Zarges Box and the block just fitted in height. A few fittings made from wood and styrofoam to prevent the engine block from moving inside the box. The whole box weighed 34 kg and the two separately packed cylinder heads another 8 kg. Amazingly enough Mavic managed to get it through all the luggage scans and got it checked-in at Singapore Airlines without problems.
Engine block repair
While everybody was complaining about the economic crisis it was extremely difficult to get an appointment with a workshop to get the job done in 3 weeks. Mathias came to the rescue and negotiated a time slot at Scherb in Groebenzell.They did an excellent job in the short time, sourced several spare parts that they did not have on stock and BMW could not deliver anymore and also overhauled the Cylinder heads. Just before I left Germany I could pick up the overhauled engine block. In the meantime I had also purchased a suitcase full of spare parts at BMW Bayer.
Back to the Philippines, Frankfurt Airport and Philippine Customs nightmares
Traveling again separate from the family I brought the engine block per rental car from Stuttgart to Frankfurt. On check-in I was told that the Zarges box would not be accepted because it was too heavy. I was prepared to pay the excess but German labor law states that the airport workers are not supposed to carry more than 32kg so my 34kg box was rejected. I was very annoyed, I had handled the box alone all the way from Munich. The check in crew of Thai airways was useless and I was desperately looking for options: abandon the box – no way; call my parents to pick it up and ship it – also not feasible because they can’t handle the heavy box either; call a friend in Munich and ask him to pick it up – one option, if I bring it to left luggage; cancel the flight and sort out shipment – not really a good option. Luckily a by-stander came to the rescue and pointed to a counter in the distance that said “Unbegleitetes Fluggepaeck”. I had 45 minutes until departure and just managed to send the box via air freight at a cost of EUR 600.
Because the box came per air freight it ended up in the Philippine customs office in Manila and we had to clear it from there. Mavic and I spent a day, I rather don’t report on the details, which included getting a huge number of signatures, a walk to a lawyer who certified that the engine is 40 years old and has no commercial value, customs inspection of the box and a major attempt to extract a bribe.
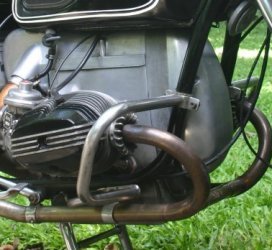
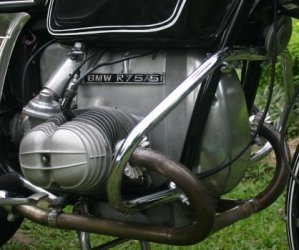
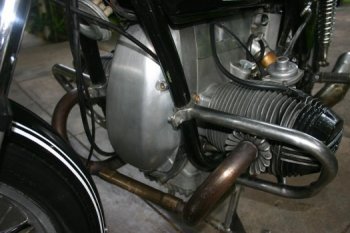
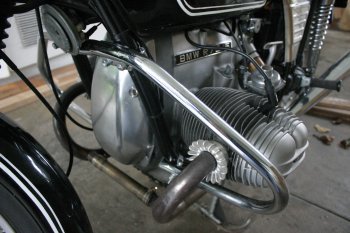
Revitalizing the heart of the Boxer
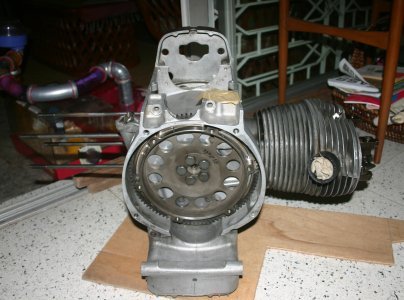
The engine block overhauled by Scherb with new crankshaft, camshaft, oil seals, oil pump, and piston rods.
Assembling the cylinders was easy and straightforward.
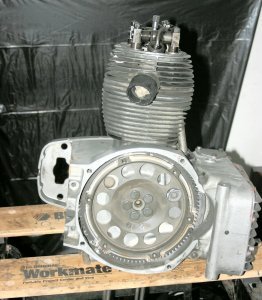
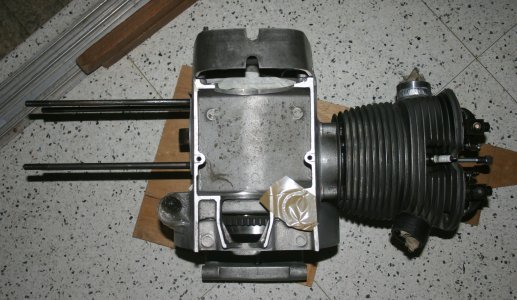
Top view with one cylinder mounted.
I had not bought the tools needed for mounting the clutch. A whiteboard marker pen increased in diameter with scotch tape worked well for centering the clutch. Three long screws with a few bigger nuts and some washers did the trick to compress the clutch spring so that the remaining three screws could be fitted and tightened.


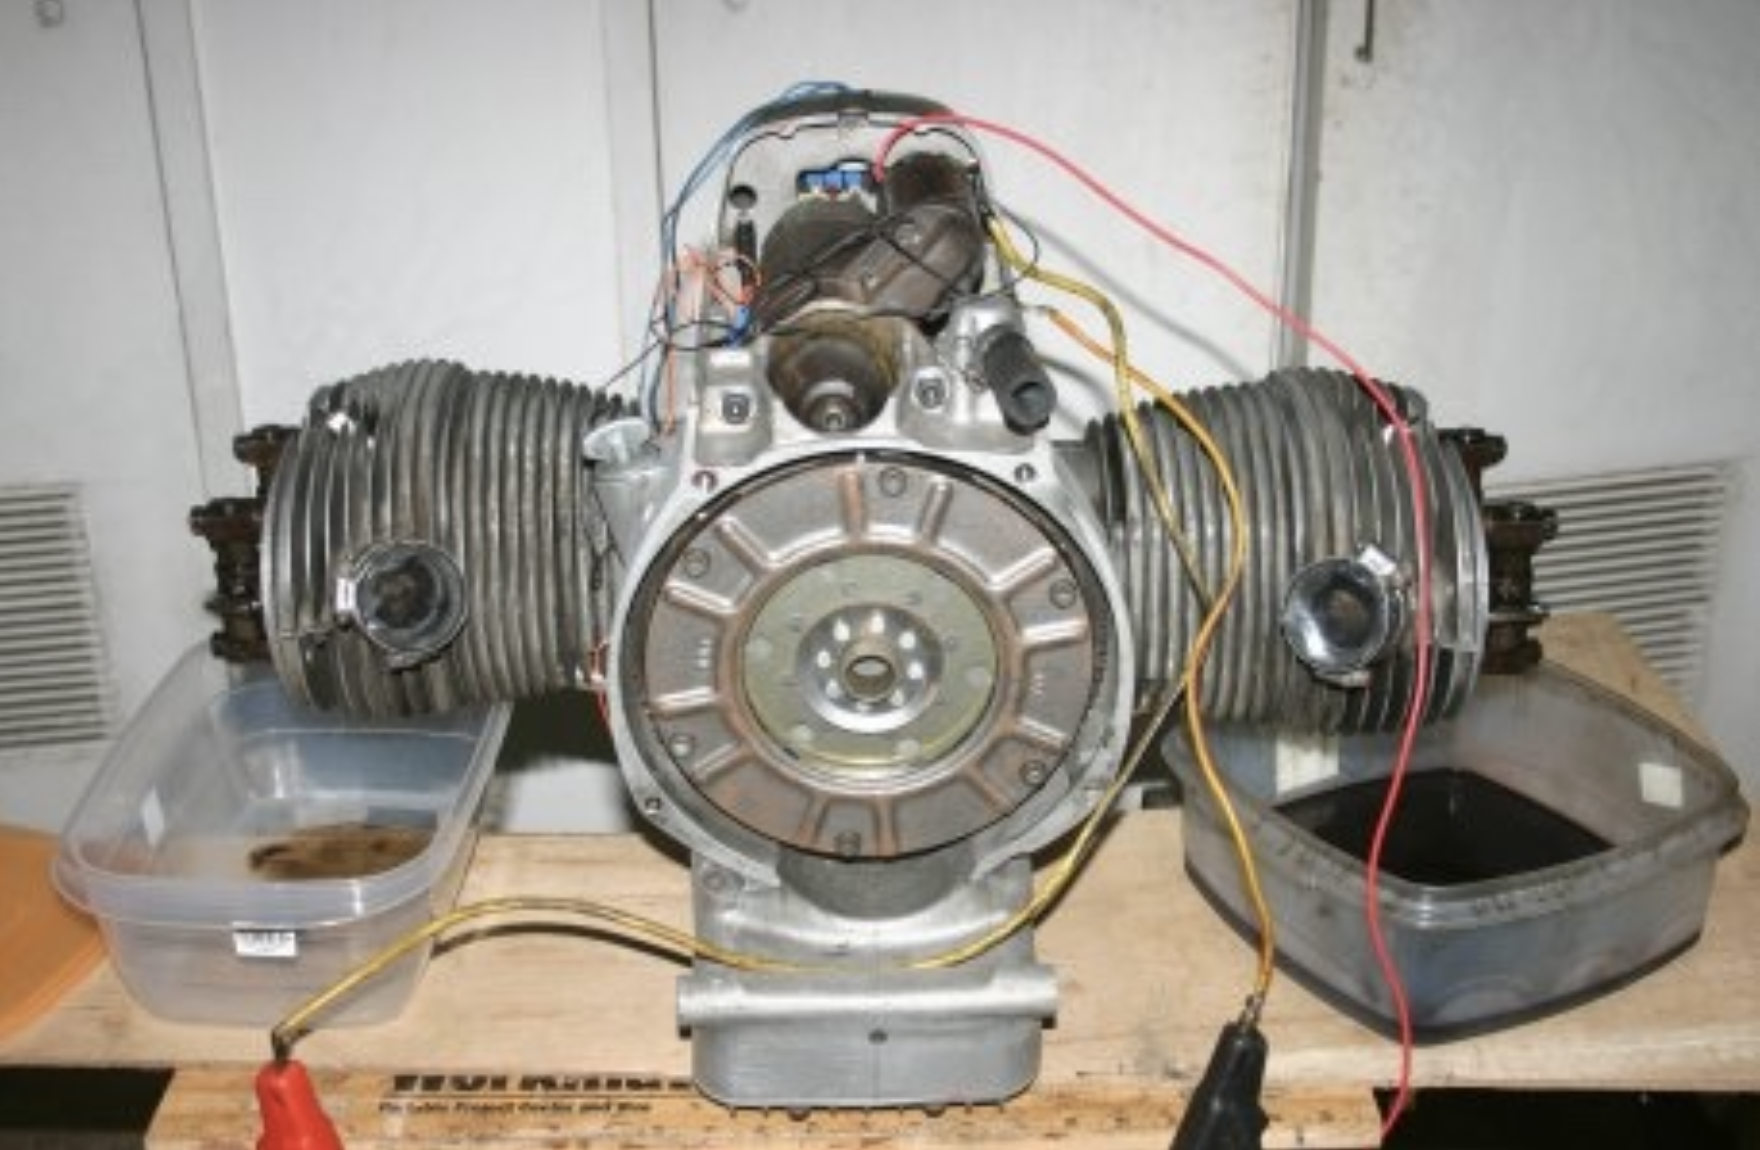
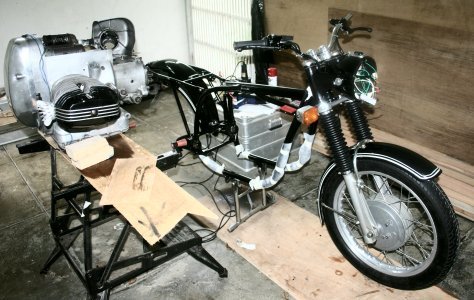
Then the big moment came. After mounting the electric starter it was connected with the battery, the crank case filled with engine oil and the oil flow to the rocker arms tested.


Everything OK so far. The next task was to restore the frame.
Frameworks
Lito Diestro, a former IRRI engineer with a metal workshop in Los Banos, helped restoring the frame. He removed the attachments added for the seat holder, fitted attachments for the battery holders, and restored the mount for the rear shock on the swing.Finding a sandblasting shop in Manila on the other hand turned out an impossible task. After studying the yellow pages and consulting the Internet I finally found some shop where somebody answered the phone. Mavic and I drove there over a weekend and found out that it was not a shop but a backyard residence in a subdivision in Manila. The resident owned a huge truck mounted sandblaster, which was usually used to blast oil tanks in refineries. It was powered by a 12 cylinder diesel engine, a fuel guzzler. Since he did not have a job at the time he offered to set-up and run the monster for my tiny frame – at an astronomical price. I did not want to know what that sort of power would have done to the frame. Pajo, the husband of our former helper and a Jeepney mechanic, ended up sanding down the frame and re-painting it with epoxy primer and paint. After this was accomplished restoring the bike could begin.
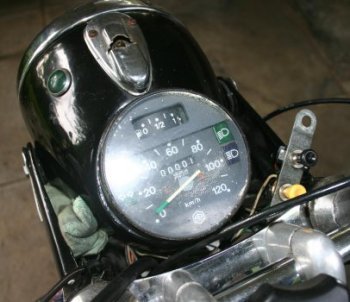
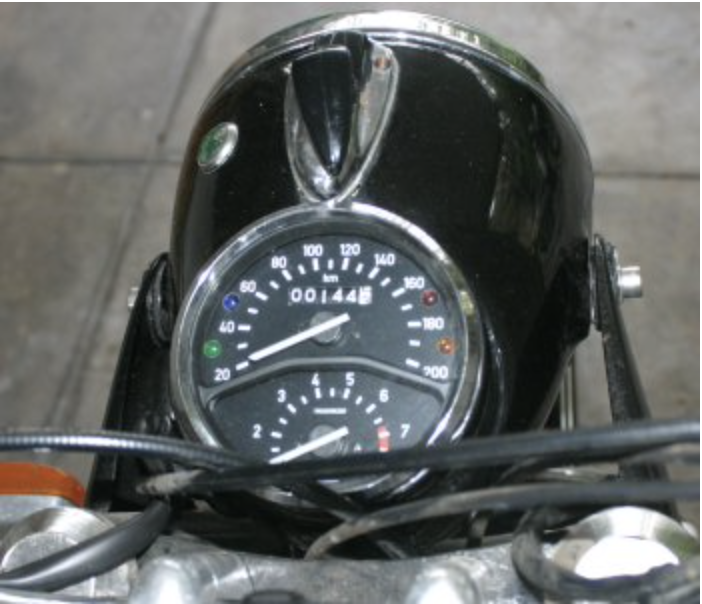
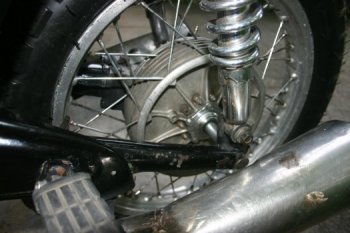
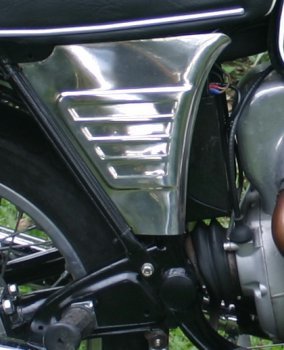
It was quite a task restore the original condition because so many parts had been replaced by local parts of low quality and different design.Front blinkers were moved back from the handlebar to the original position.New rubber gaiters and battery holders were fitted. All wheel bearings, swing bearings and the steering bearings were replaced with originals.The rear break pedal broken and Lito helped with a aluminium welding job to fix it.All the old, rusty screws and nuts (some of them in imperial measurements) were replaced by V4A stainless steel screws and bolts.The front light housing was fitted with a new combination instrument I found on ebay.The back wheel was completely rotten. I had bought a set of wheels in ebay in Germany but they turned out to be both front wheels. I therefore converted a front wheel into a back wheel by moving the drive sprocket from the broken back wheel to the spare front wheel.

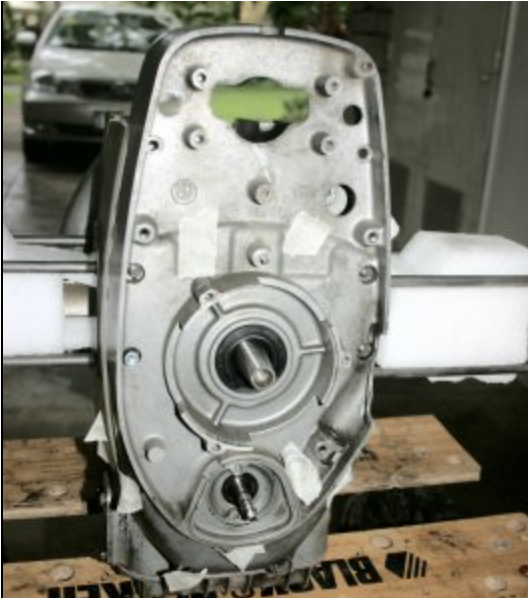
The gearbox also needed fixing. The spring that moves the kick starter back up in resting position was broken. There was also a funny screw at the back of the gearbox which leaked oil. When I removed the nut the screw fell inside the gearbox, so I had no choice but to open it. I got a special tool made to remove the driver flange on the output shaft but the damn thing was sitting so tight that three people and a 1.5m lever could not loosen the flange. Instead the tool started bending. Since it needs special tools to work on the gears anyway I decided just to buy a new or overhauled gearbox. Krystian knew a friend who had an overhauled 5 gear box at reasonable price so I bought it and got it shipped from Germany. Another 6 weeks waiting time. On the positive side, I managed to sell the old gearbox for a good price on ebay during my 2010 home leave in Germany.
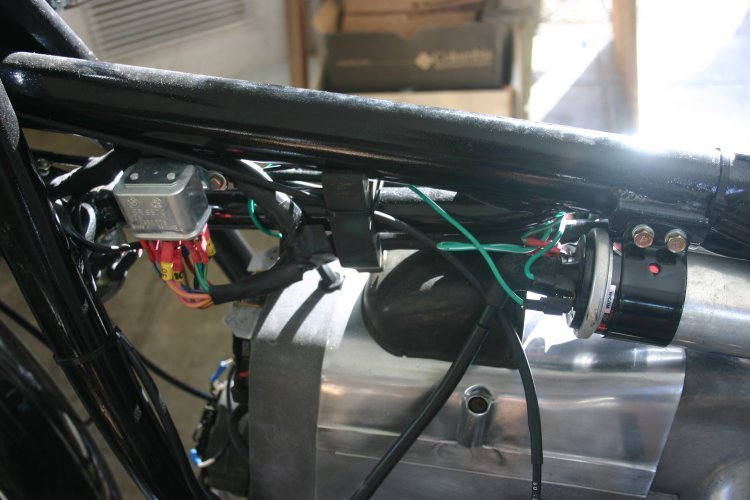
Volts and sparks
Nothing was original in the wiring mess (below). When ripping the old wires out I also found that two diodes in the diode plate were broken and part of its printed circuit board burned, probably by a shortcut. I wonder how the previous owners managed to keep the battery charged, probably by never using the light, the blinkers did not work anyway, and by kick starting the bike. That explains the broken kick starter.
From Germany I had already brought new switches and relays. But another problem was getting cables to re-build the wiring. Cables in Philippine electrical shops have very thick insulation and little copper inside. Detlef from Continental Philippines tried to help but they only have pre-configured cables and no bulk stock.Then I tried shops in Manila, with no success. Finally Tantan found a large variety of car wires somewhere in Manila and the wiring job could begin.

It took me two long weekend nights and half a crate of San Miguel to rewire the bike, as close as possible to the original but with compromises mainly on color coding of the wires.
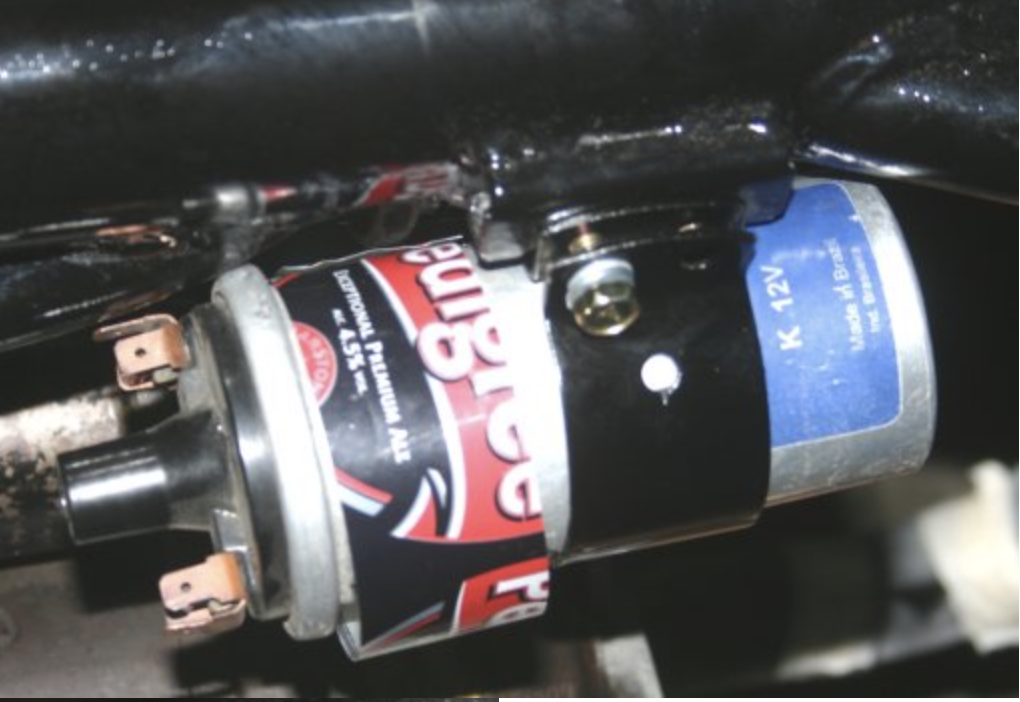
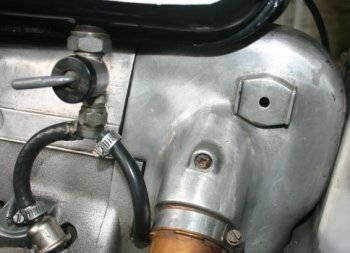
The ignition coils seemed OK, except that the original configuration contains two 6 V coils in series while my bike had two 12 V could parallel. This led to problems later with a weak spark on once cylinder so I swapped the two coils for a Rice Rocket coil with to secondary windings.


The “Bosch Erbsen” (diodes) of the diode plate I could not find, but other diodes with comparable performance, I therefore repaired the diode plate instead of buying a new one. Other work:
Replacement of the two capacitors in the picture by one as in the original.
New contact breaker.
New coals for the Alternator.
New breather hose in the contact breaker housing.

A new starter locking relay, prevents that the electric starter can engage while the engine is running.
Not exactly as the original in appearance because of compromises in color coding of the wires, but functionally 100% the original.
Cosmetics and fine tuning
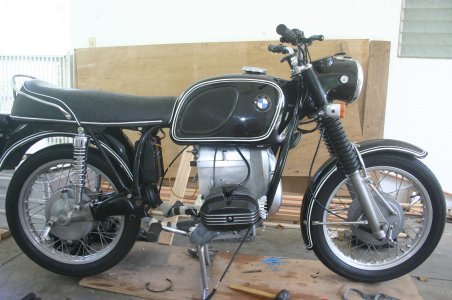
In January 2010 the bike was ready for test riding. Subsequently I did the following improvements:
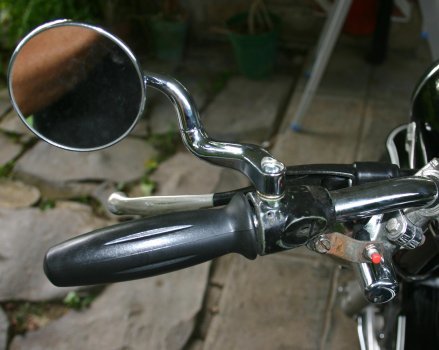
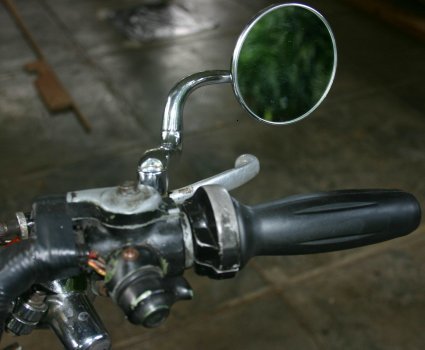
- Side mirrors from Polo, which look pretty similar than the original ones.
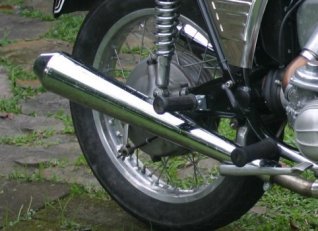
- Exhaust pipes from Polo, cheaper than the Hoske and a bit more aggressive sounding than the originals
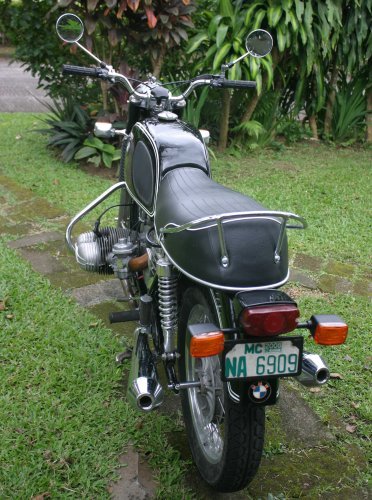
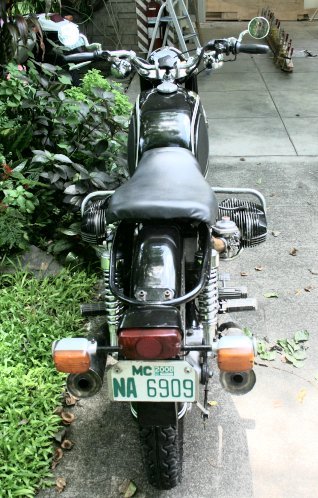
Before and after


 |  |
